The blog is back! Since the COVID-19 lockdown, we know a lot of you have been trying to get out on your bikes for your daily exercise, so we wanted to share with you a few essential tips to help keep your bike riding better for longer. As we are an essential business we are still open 5 days a week, so remember Glasgow Bike Hive is still here for you for your bike maintenance needs during these difficult times!
Here’s our owner and lead mechanic James’ top 3 essential bike maintenance tips that everyone should know!
Watch your tyre pressure
Riding at the correct tyre pressure is really important to ensure your tyres are giving you their best performance and you have the best riding experience possible. The most common mistake we see is people riding with tyre pressure which is too low, and this can cause damage to your tyre and increases your risk of a flat tyre. Riding with low pressure also reduces the efficiency of your bike, meaning you have to work harder!
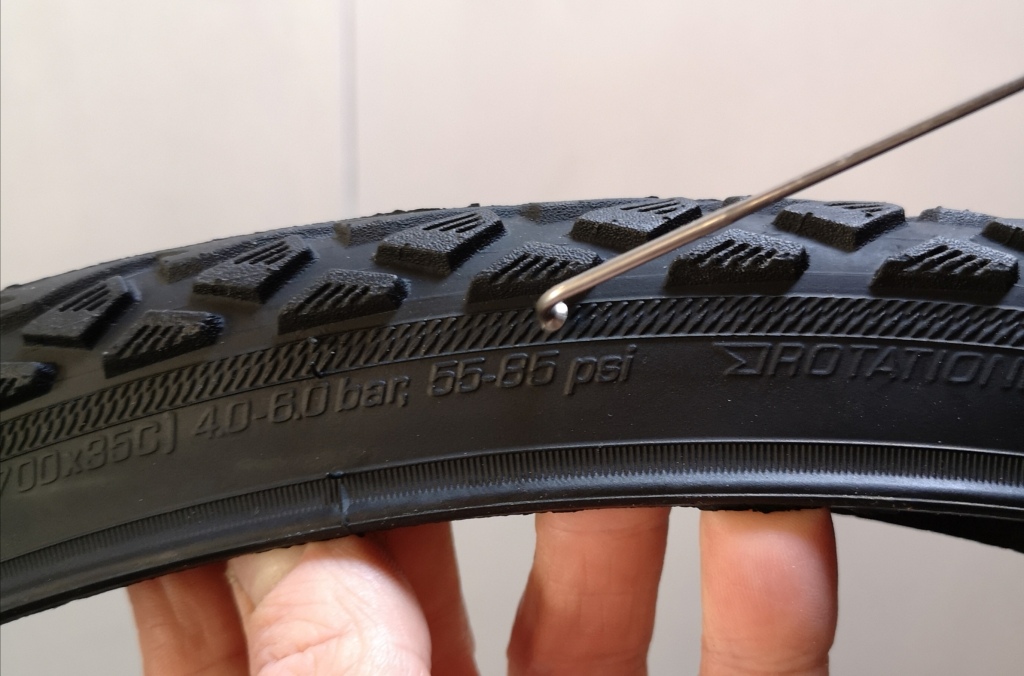
The correct pressure for a tyre varies depending on rider weight, tyre width, material, and whether it is front or rear wheel. You can find out the approximate correct pressure by checking the side wall of the tyre, which tells you the manufacturer’s recommended maximum and minimum pressures.
This side wall shows the manufacturer’s recommended tyre pressure is between 55-85 psi
If you are heavier you will want to have your tyre pressure in the upper end of that bracket, whereas if you are lighter you can have your tyre pressure in the lower half of the bracket. In general, tyre pressure should be marginally higher in the rear compared to the front.
Lubricate your drivetrain
The drivetrain consists of the chain, the chainset (at the front), the cassette (at the back), the front derailleur (if you have one) and the rear derailleur. Lubricating the appropriate parts of your drivetrain will help to prevent corrosion and reduce mechanical friction, which will extend the lifetime of your parts (and might even make your bike ride smoother!).
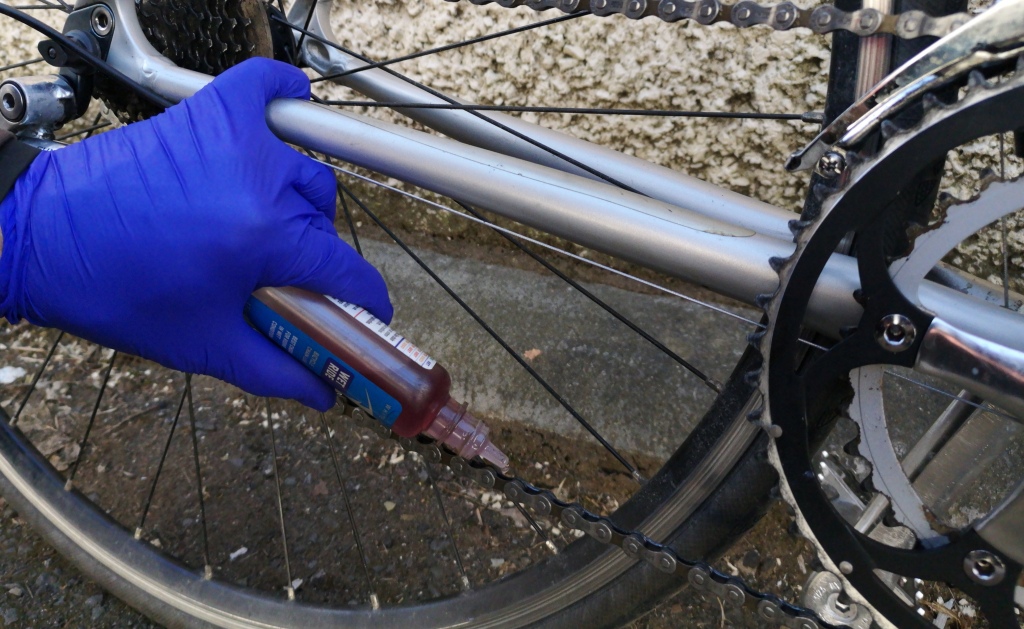
When lubricating your drivetrain, you only need to lubricate the chain, and occasionally the front and rear derailleurs. Select a suitable chain oil - the most appropriate chain oil for you will depend on your bike usage and riding conditions/weather - and place your bike against a wall making sure you can still backpedal it. Whilst backpedaling, trickle a small amount of chain oil on to the chain. You want a consistent amount of chain oil along the entire chain - it might take several revolutions of backpedaling to achieve this. Be careful not to use too much oil though, the oil on the chain should just be visible and should glisten slightly. Little and often is the key for good drivetrain lubrication!
Apply a trickle of chain oil to the chain whilst backpedaling to ensure the entire chain has even lubrication
Clean your brakes and rims
This one is often overlooked, but an easy way to improve your brake performance and efficiency is to clean your brake pads and rims regularly (obviously this only applies to rim brakes!). The brake surface on the rim of your wheels naturally attracts dirt and sludge as you ride along, particularly in Glasgow weather! But as you brake, the material from your brake pads also wears off on to the rim, and can add to the debris on the brake surface.
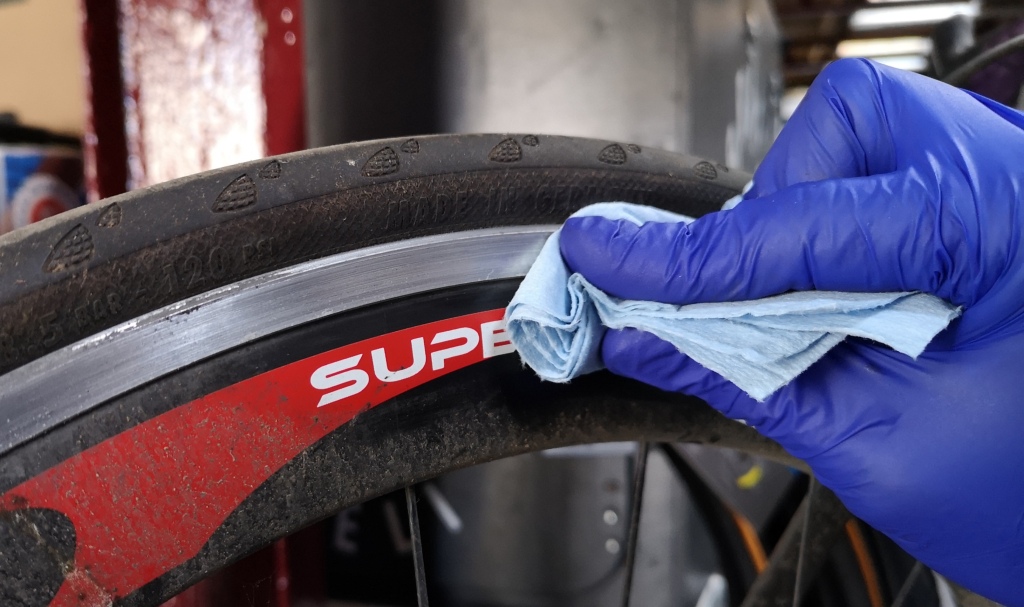
Thankfully there are no special tools required to clean your brake surface, just grab some kitchen towel and a degreaser of your choice (normal washing up liquid will do!). Use the kitchen towel to rub the rim of your wheels with soapy water, which will agitate the dirt and debris, then rinse off with clean (non soapy) water and wipe dry with a fresh piece of kitchen towel. Easy as that!
Cleaning the brake surface with soapy water and kitchen roll
Hopefully you found these essential tips useful, let us know on social media what other bike maintenance advice you’d like from this blog next!
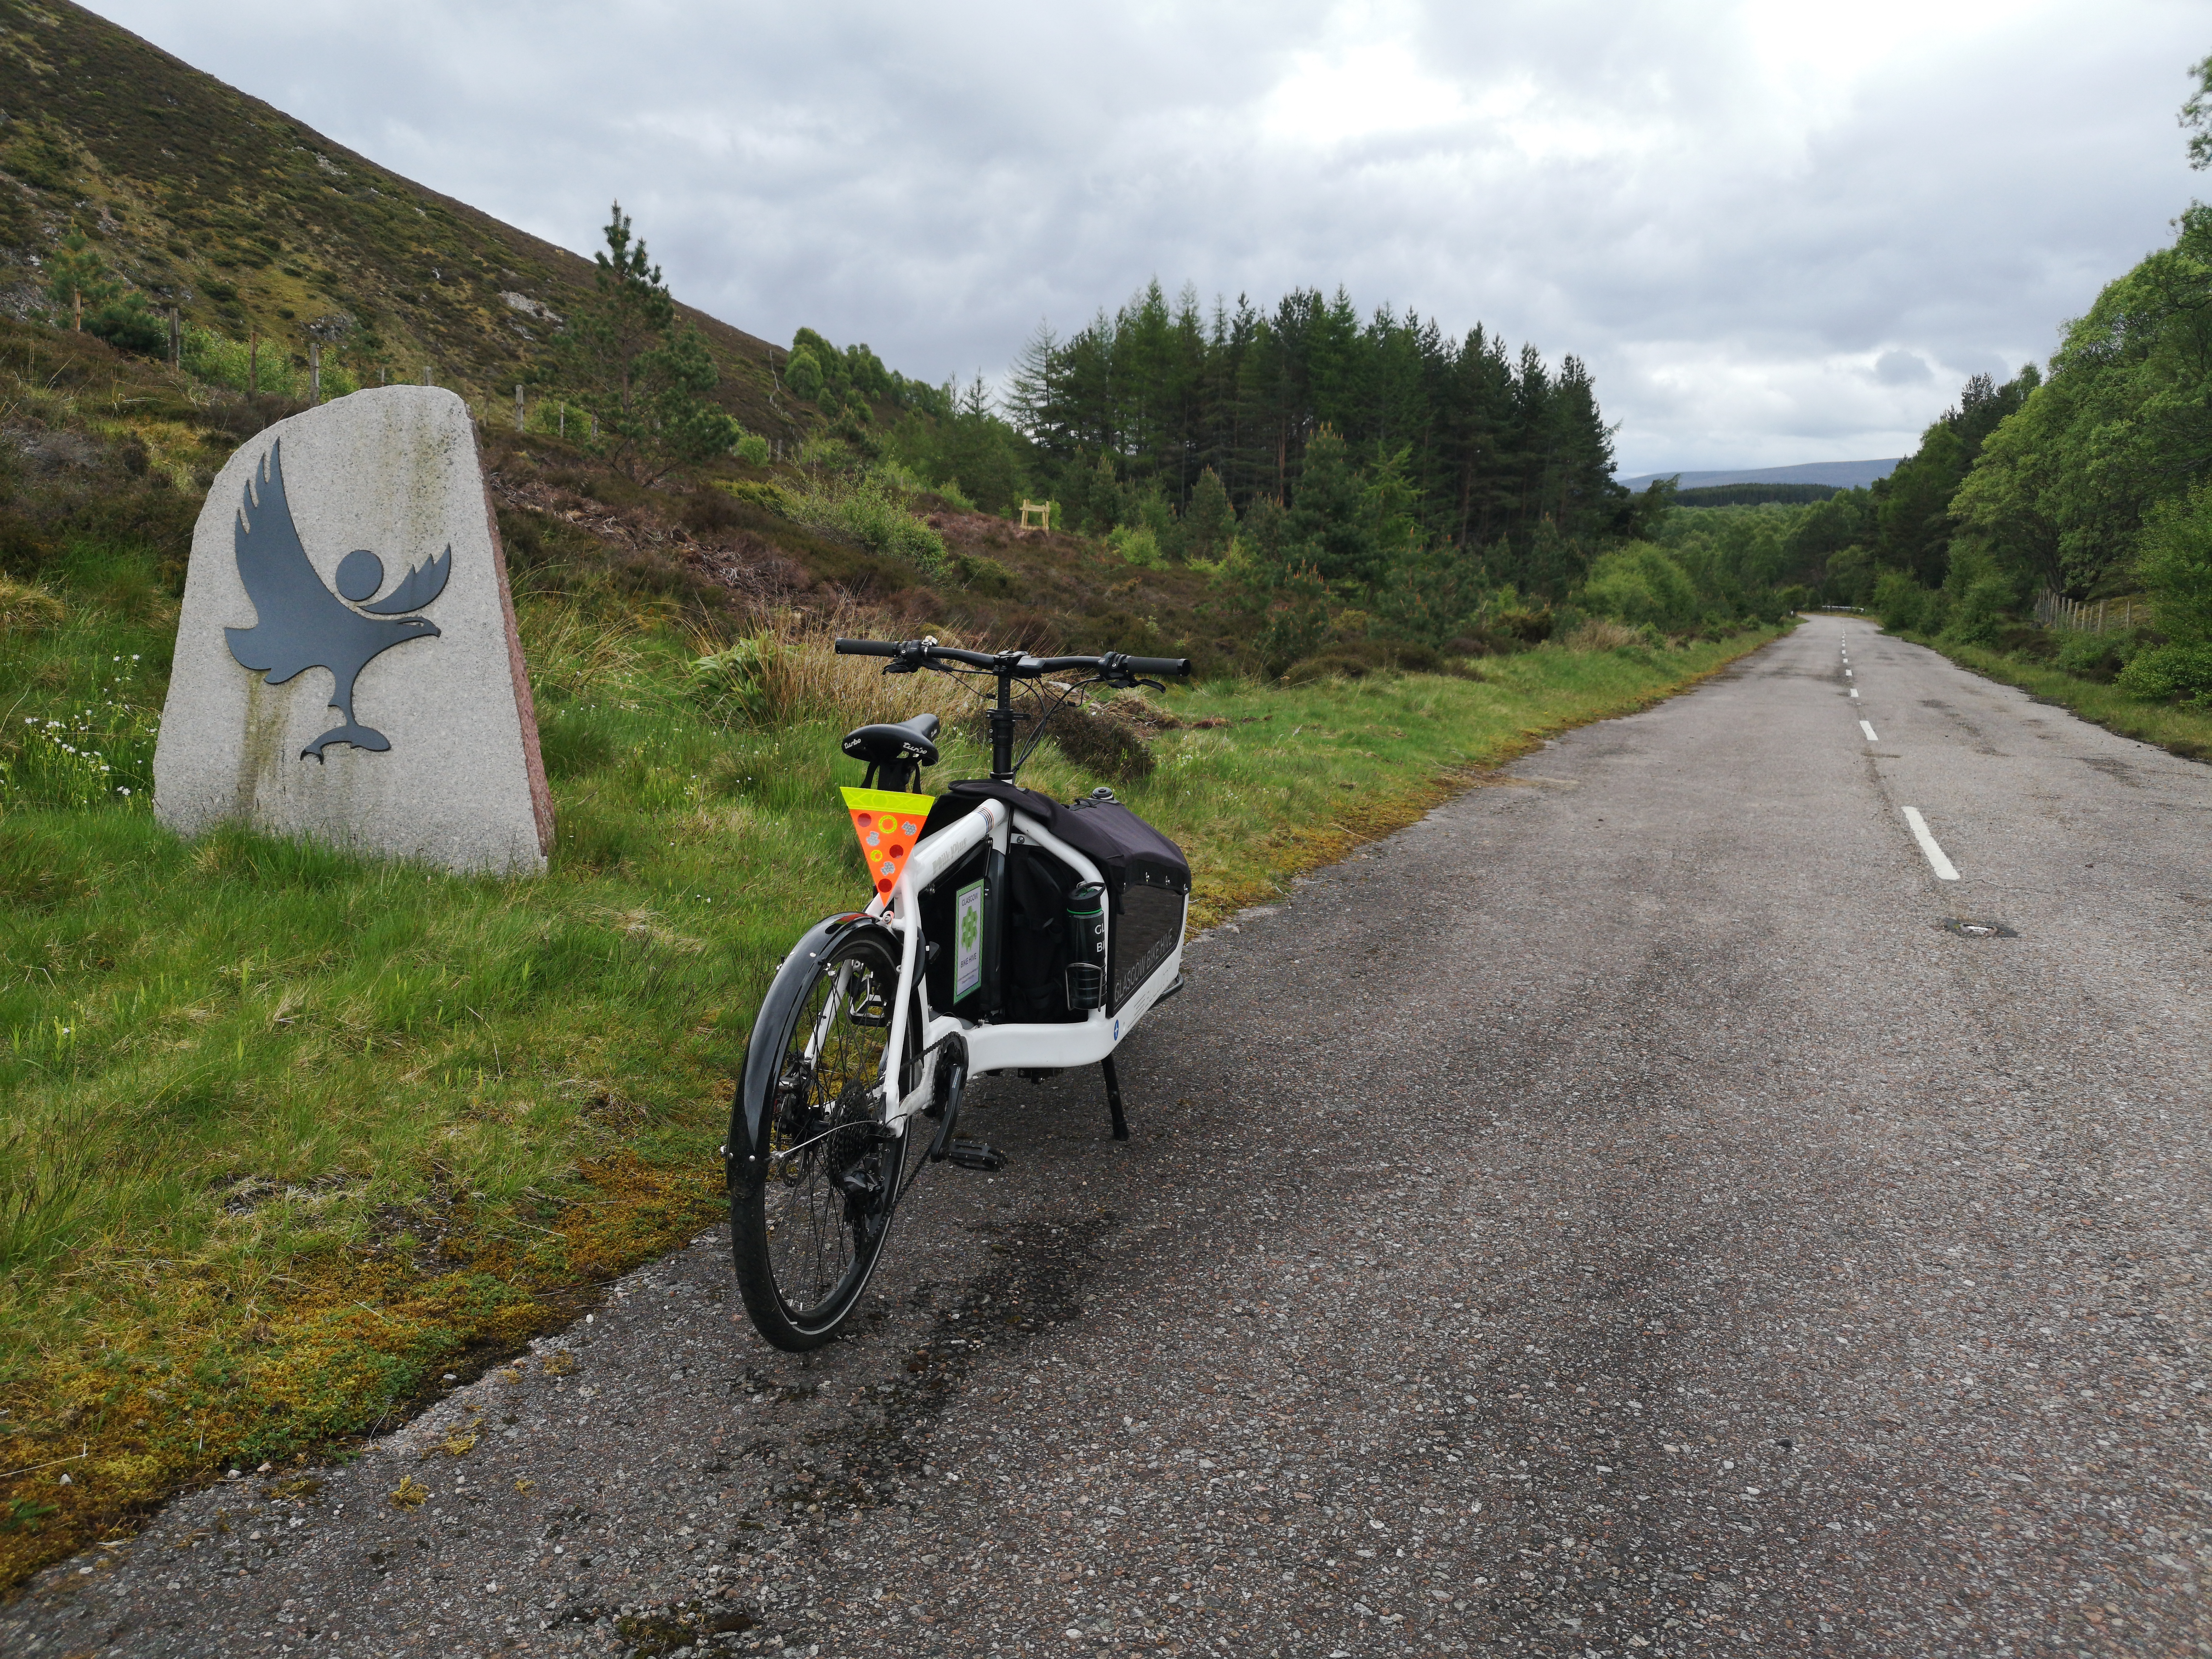
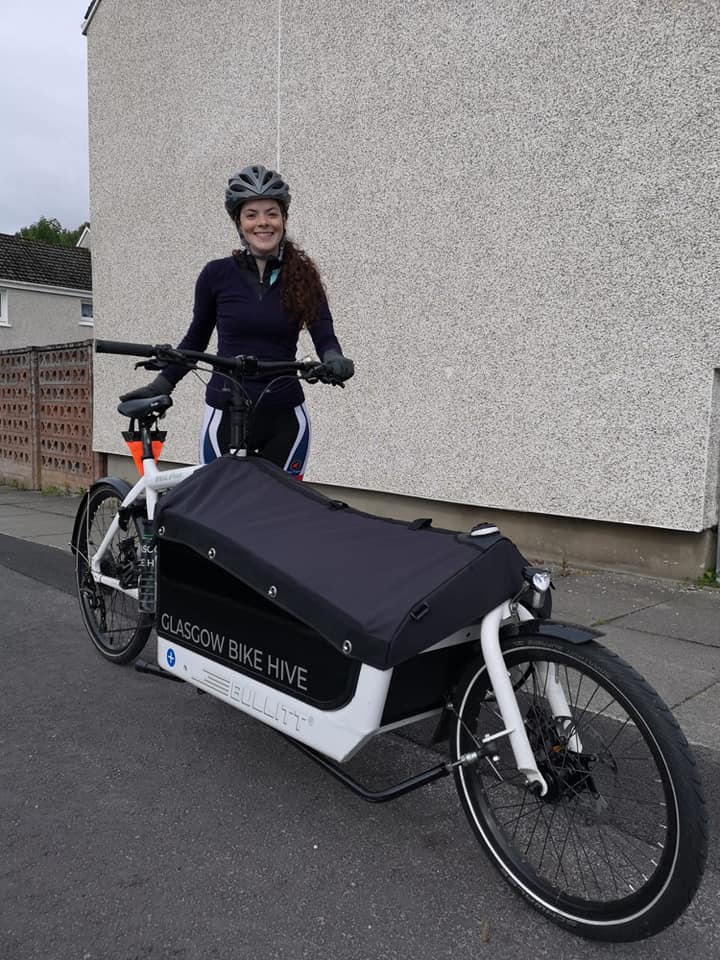
Hey guys, it’s Fiona here, I run a lot of the behind the scenes stuff here at Glasgow Bike Hive. Those who follow our Instagram stories will know I recently did a 3 day tour from Inverness to Glasgow on our eBullitt cargo bike, and I thought I’d write a wee blog post about my experience.
For a while now I’ve been thinking that the Bullitt would be the perfect touring bicycle. It is really comfortable to ride, so you can sit on it for days on end, and the box at the front is perfect for fitting in all your stuff, whether that’s food, camping gear, or just a bulkier raincoat! Previously when I’ve done short 3 day tours I’ve only taken a 4.1L Ortlieb saddle bag, so being able to pack a fresh change of clothes for the evening on this trip was *luxury*.
Entering the Cairngorms National Park on NCR7
The idea was to ride from Inverness to Glasgow over three days, following the National Cycle Route 7. This route passes through both the Cairngorms and Loch Lomond & The Trossachs National Park, on Sustrans’ Loch and Glens North route (https://www.sustrans.org.uk/ncn/map/route/lochs-and-glens-north). I bought the official route map from Sustrans for this, which was useful for planning my days and my rest stops, but it is certainly not necessary to buy the map to complete the journey, as the route is well signposted throughout. If you are going to do this route however, please take this one piece of advice: ride from Glasgow to Inverness NOT from Inverness to Glasgow! Psychologically, I thought that riding towards Glasgow would be better as when I finished my ride I’d be home (also going South means it’s all downhill, right?), but it turns out when you ride southwest for 207 miles across Scotland you have a headwind the ENTIRE. GODDAMN. TIME. Seriously guys, ride north.
Heavy traffic on General Wade’s Military Road just north of Dalwhinnie
The first major challenge on this trip came when trying to get up to Inverness to my start point. The obvious choice was by train, which I figured would be easy given the new electric Scotrail trains have large bike areas on them now which would easily fit the Bullitt. I checked the Scotrail website, and although it did not make any specific mention of cargo bikes, it did say that tricycles, tandems, and trailers were not allowed on Scotrail trains, so I thought I would email and ask. The first reply I got from Scotrail was a little confusing, as I was told I wouldn’t be allowed to take my cargo bike on their services “due to the size of the back wheel exceeding that which we permit”. I didn’t quite get this, since the Bullitt has a 26” rear wheel which is a standard MTB size wheel, and MTBs are allowed on Scotrail services! So I emailed again, and was told that as they class my bike as a specialist vehicle, the wheels are not allowed to exceed 20” in size. So no Bullitt on the train! This was really disappointing as I ended up having to rope James in to giving me a lift up to Inverness with the Bullitt in the Volvo, and using a car to get to the start point definitely didn’t sit right with my environmental consciousness, but I really didn’t see any alternatives. Unless Scotrail decide to change their rules, I guess my next cargo bike tour will have to be a loop to avoid any issues getting to the start/finish point.
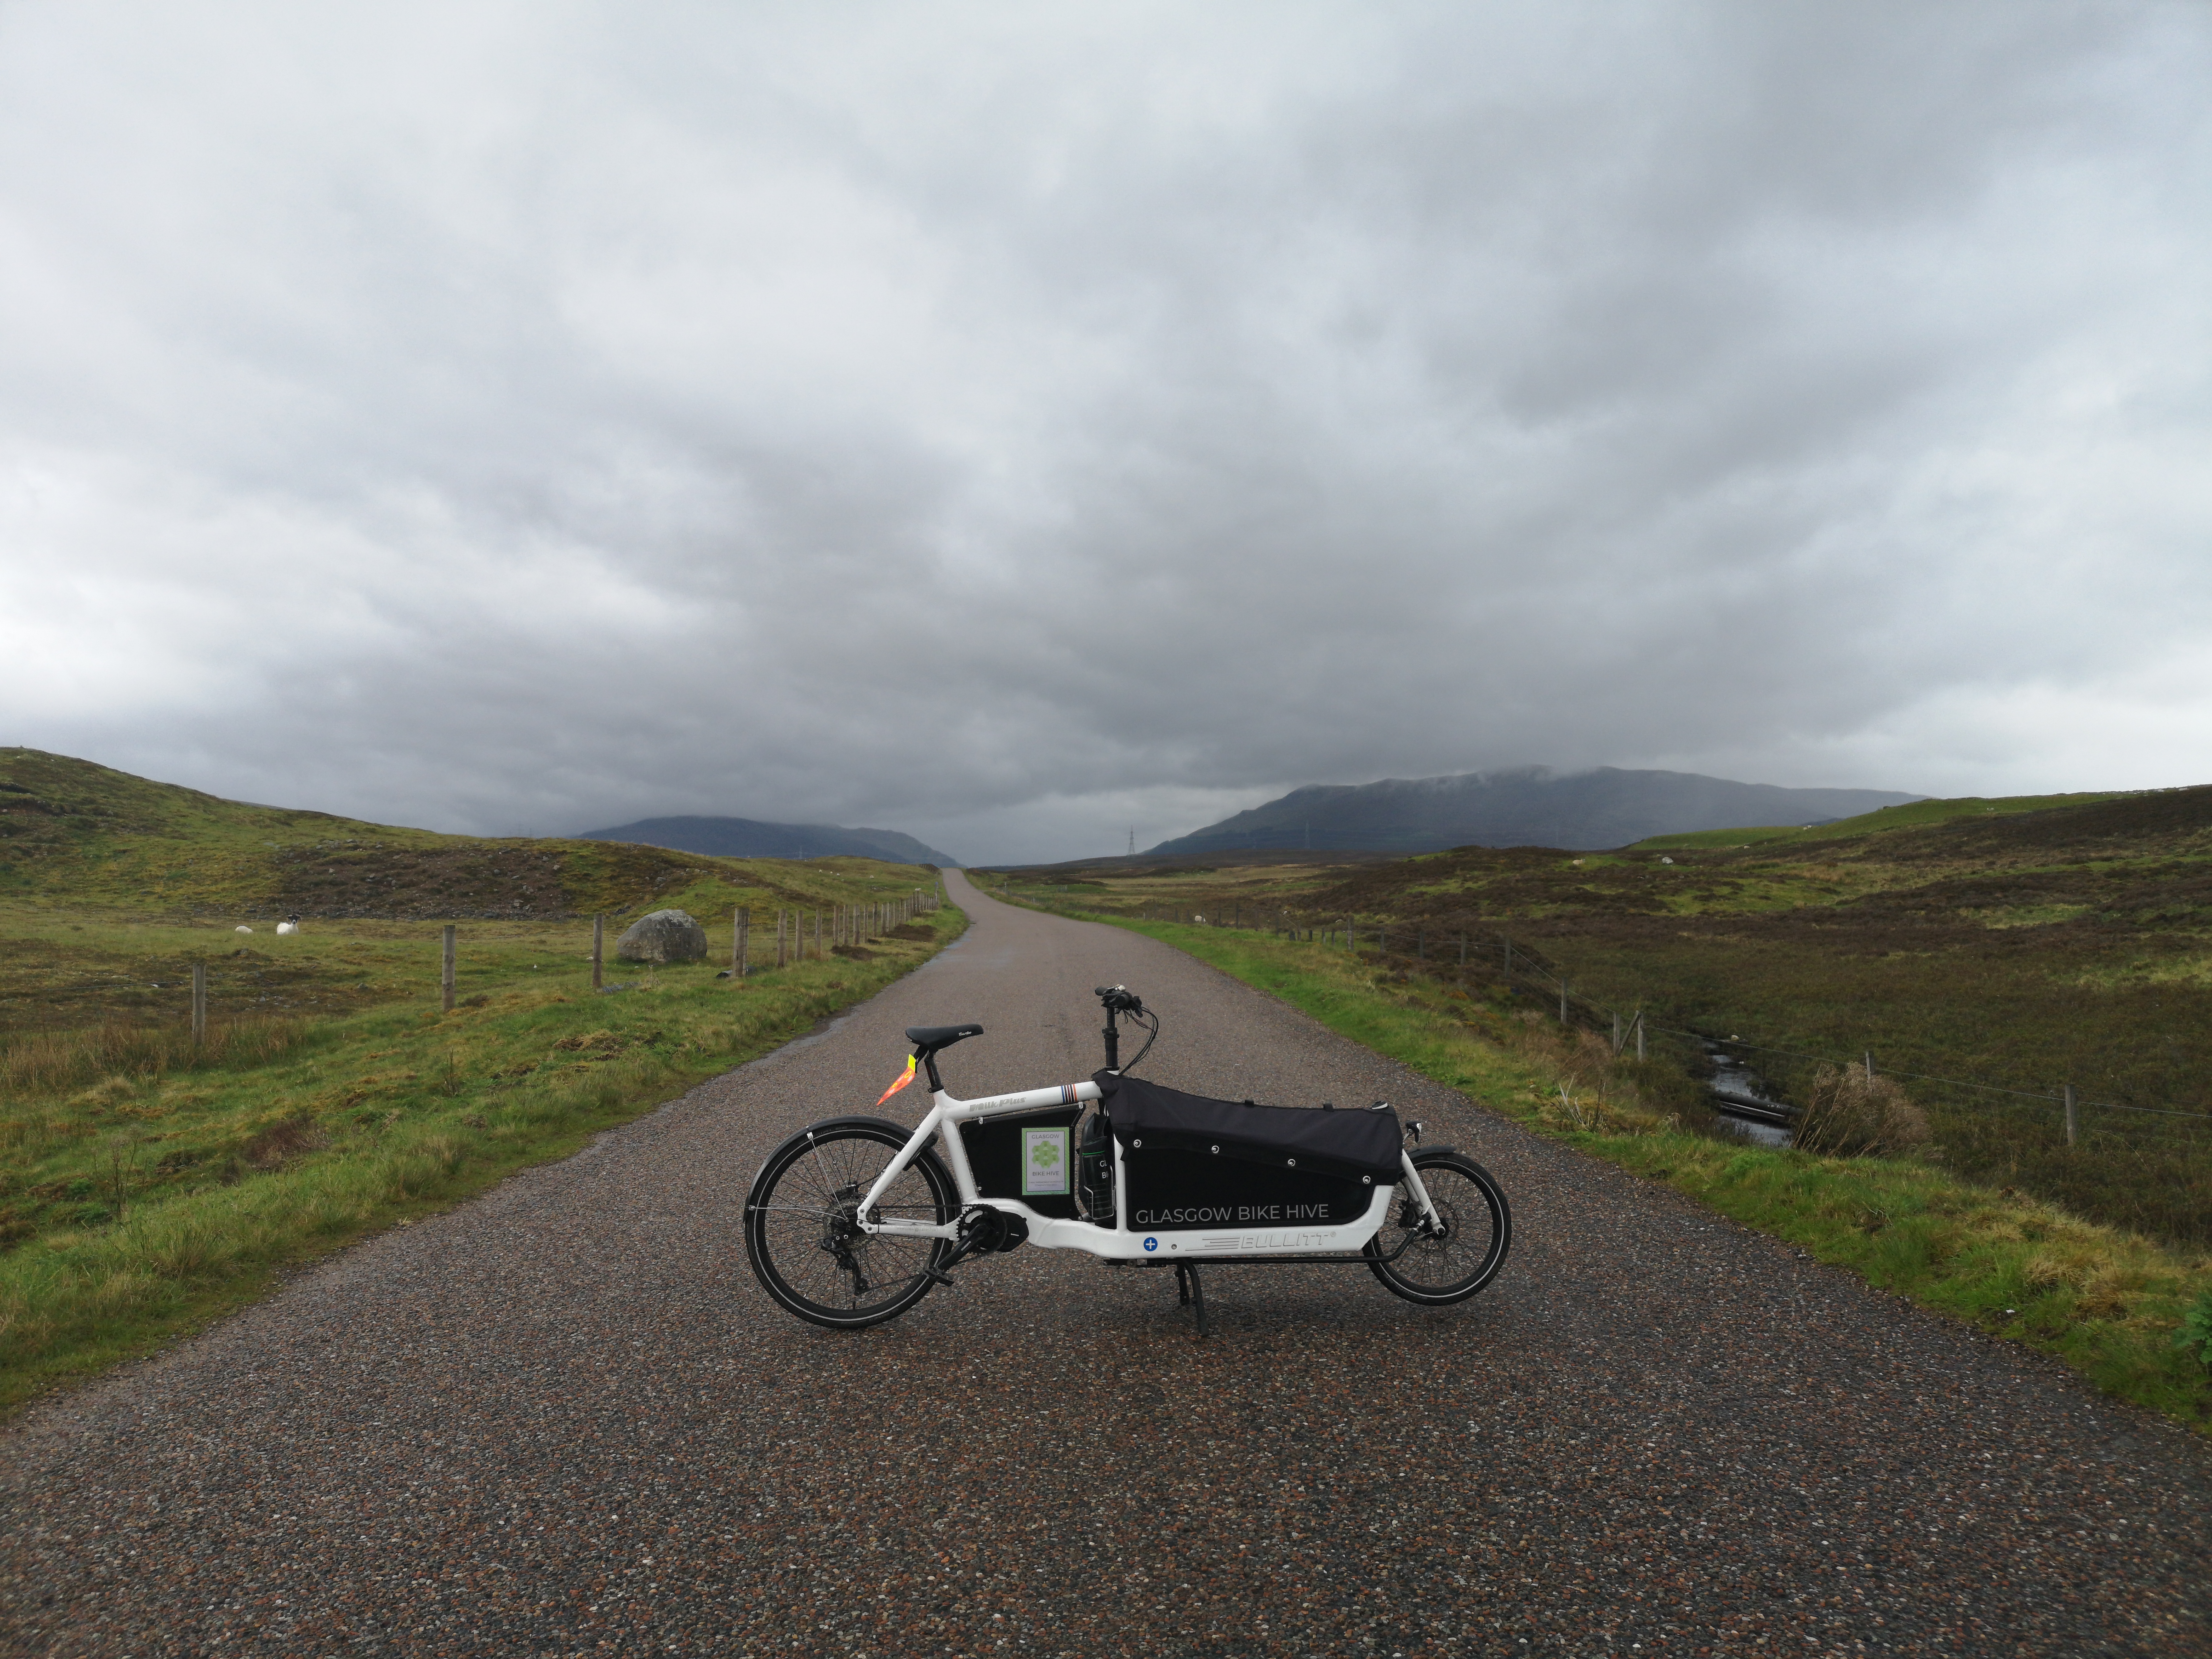
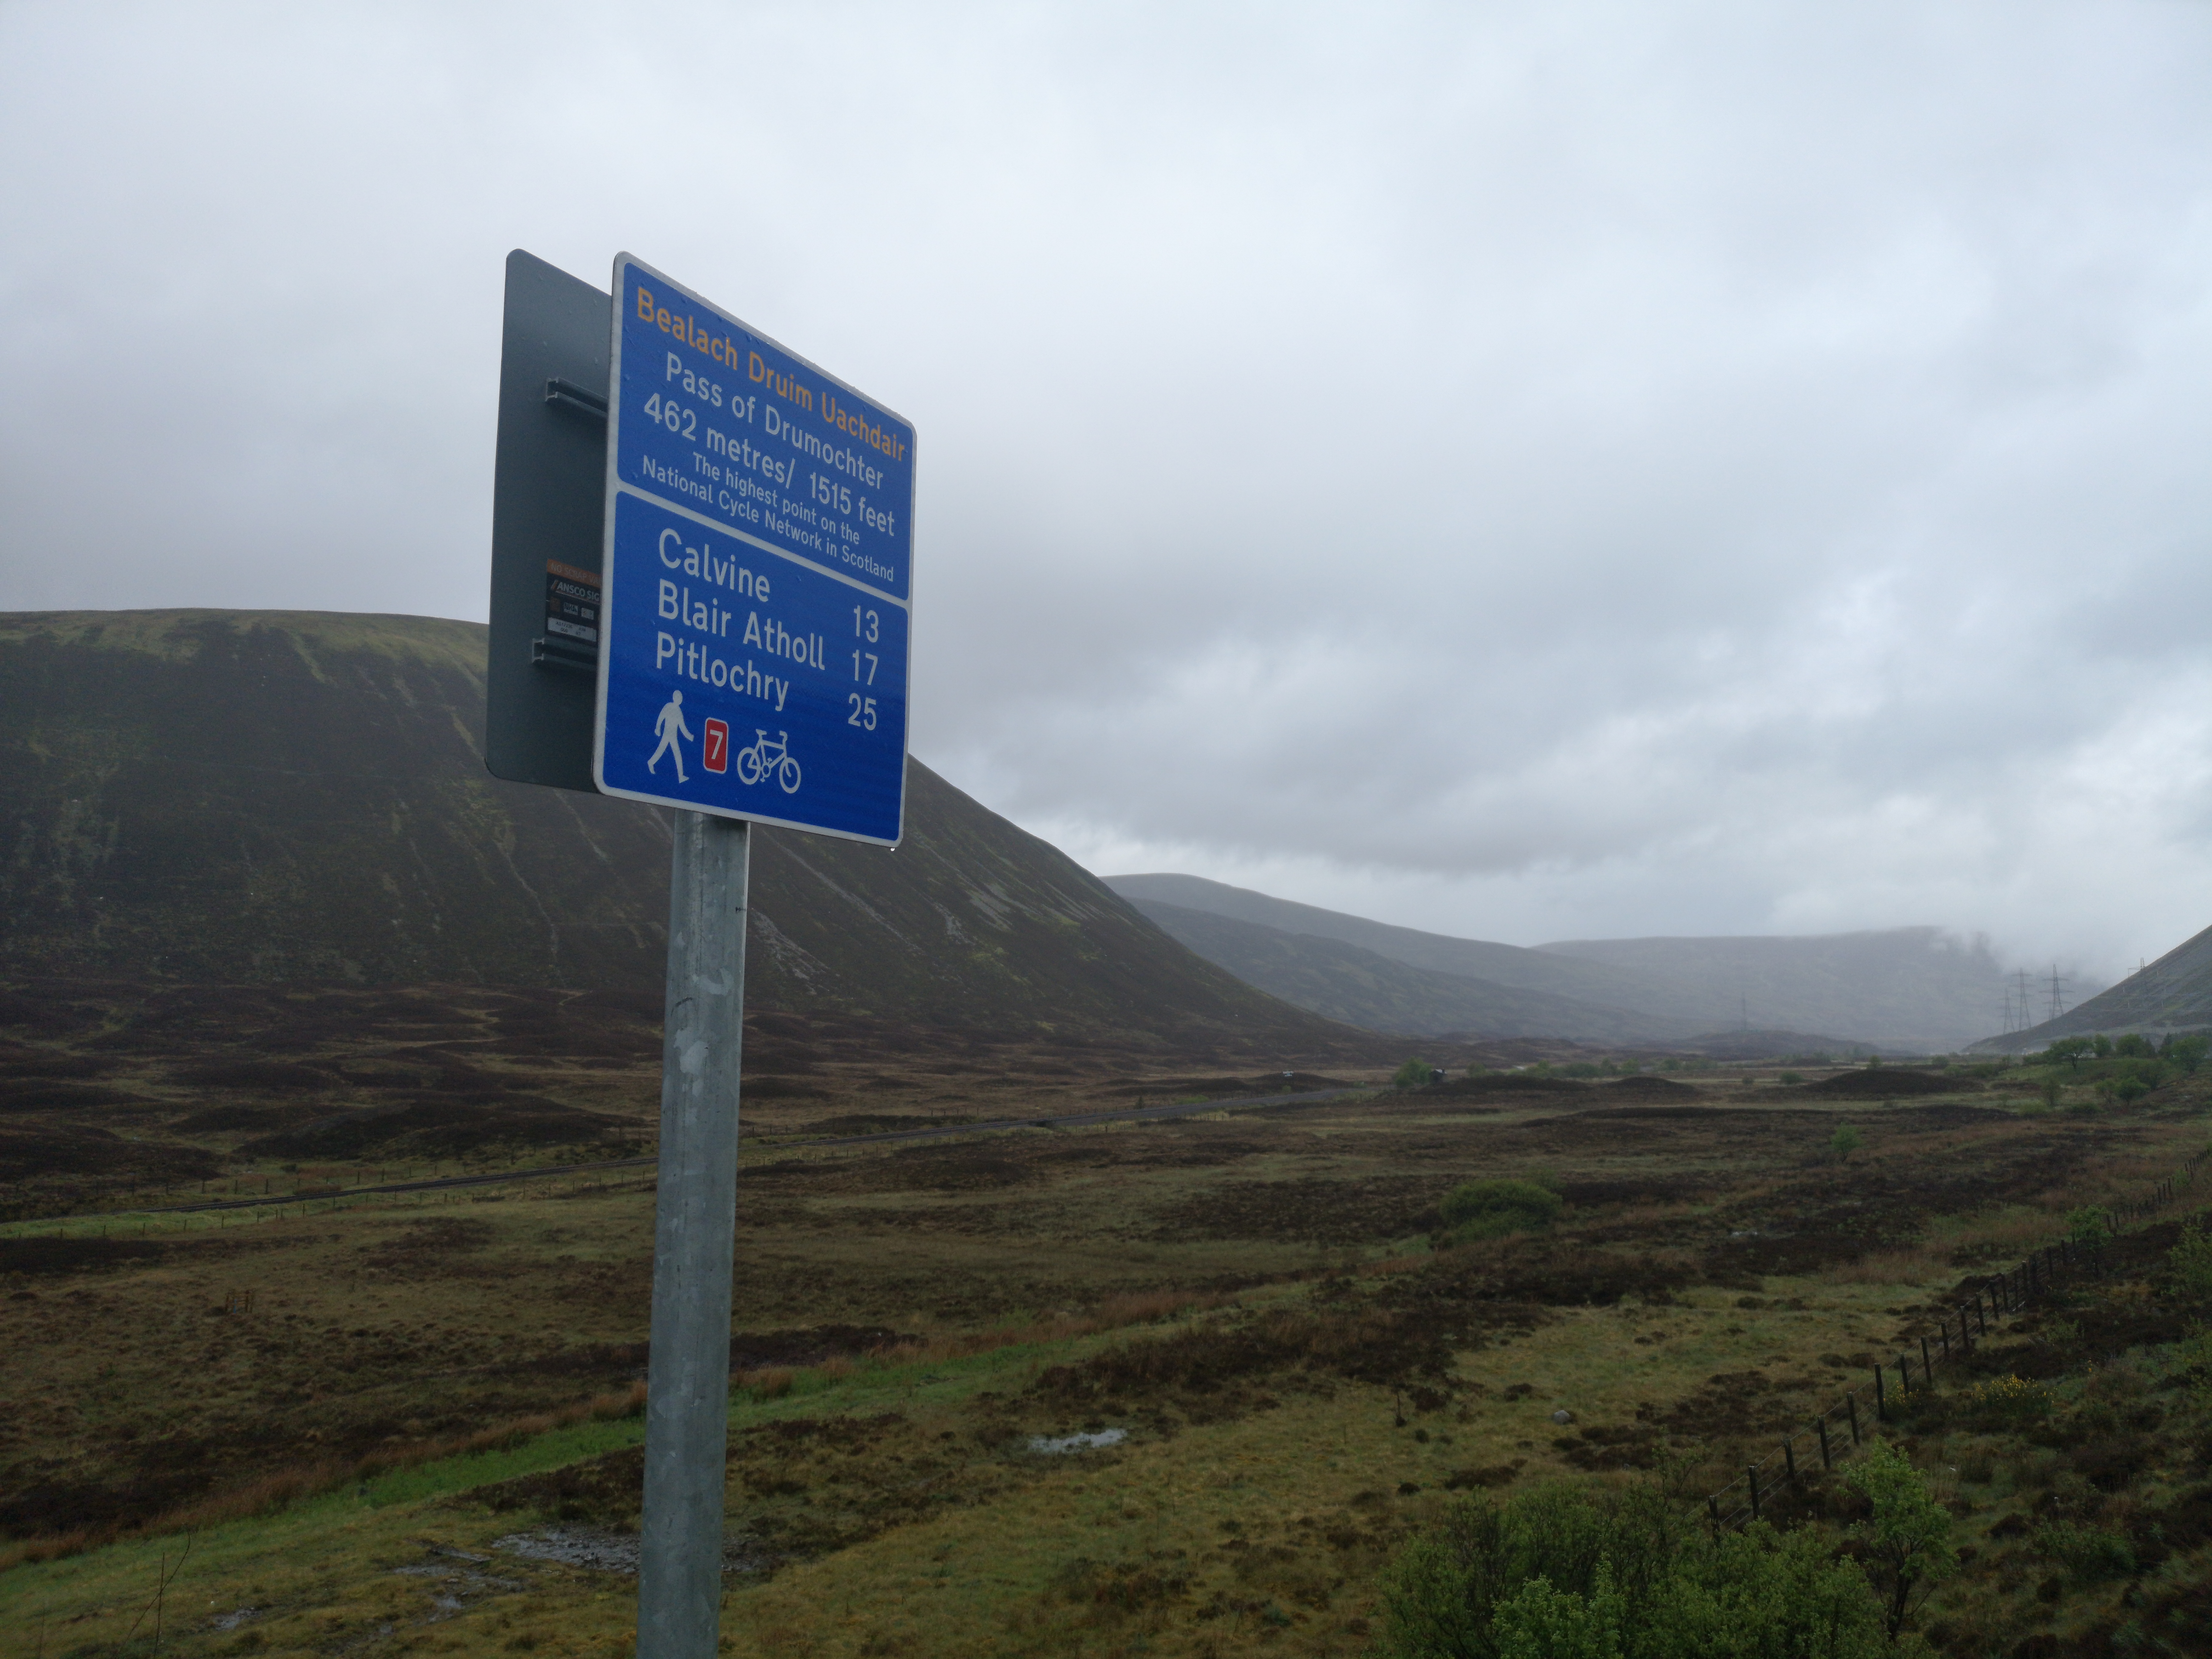
The Drumochter Pass - the highest point on the National Cycle Network in Scotland
Once I finally got to Inverness, I set off following the little blue signs along the NCR7. The first part of this journey was a little frustrating, as there is no path along the A9 coming straight out of Inverness. Instead you have to swing out a few miles east past Culloden moor before heading back west again, and this kind of made me feel like I wasn’t really getting anywhere, since I spent the first few miles not actually going in the direction I wanted to go in! Once I actually did start going south, I have to say that this route is AMAZING! I felt like this journey showed me every different type of Scottish landscape. There were rolling hills with sheep farming, bleak sweeping moors, dense forests, imposing hills, and lochside beaches. The diversity of the landscape, along with the ever-changing weather (the waterproofs were on, then they were off again, then they were on again, then they were off again…) made my pictures look like they were taken over the course of several weeks, rather than just three days! On the whole, the road surface was also pretty good, although this is coming from someone who spends most of their time riding avoiding Glasgow potholes so my bar for road surface quality is pretty low. There were a couple of exceptions to this, for instance the last five miles getting over the Drumochter pass (the highest point in the National Cycle Network in Scotland!) the path surface was appalling, and that terrible surface quality along with a strong headwind driving rain in to my face and a long climb over the mountain pass made it a pretty miserable point on the journey. Some of the paths through the Trossachs were also a little sludgy and slow, but they had been rained upon for several days by that point and I think if it had been dry they would have been fine. The majority of this route was on quiet roads, and the few cars I did come across on these roads were on the whole very courteous around my bike. In fact, the only close passes I did have were coming back in to Glasgow when I decided to deviate from the National Cycle Network (which swings out west to Balloch) and come straight down from Killearn on the A81.
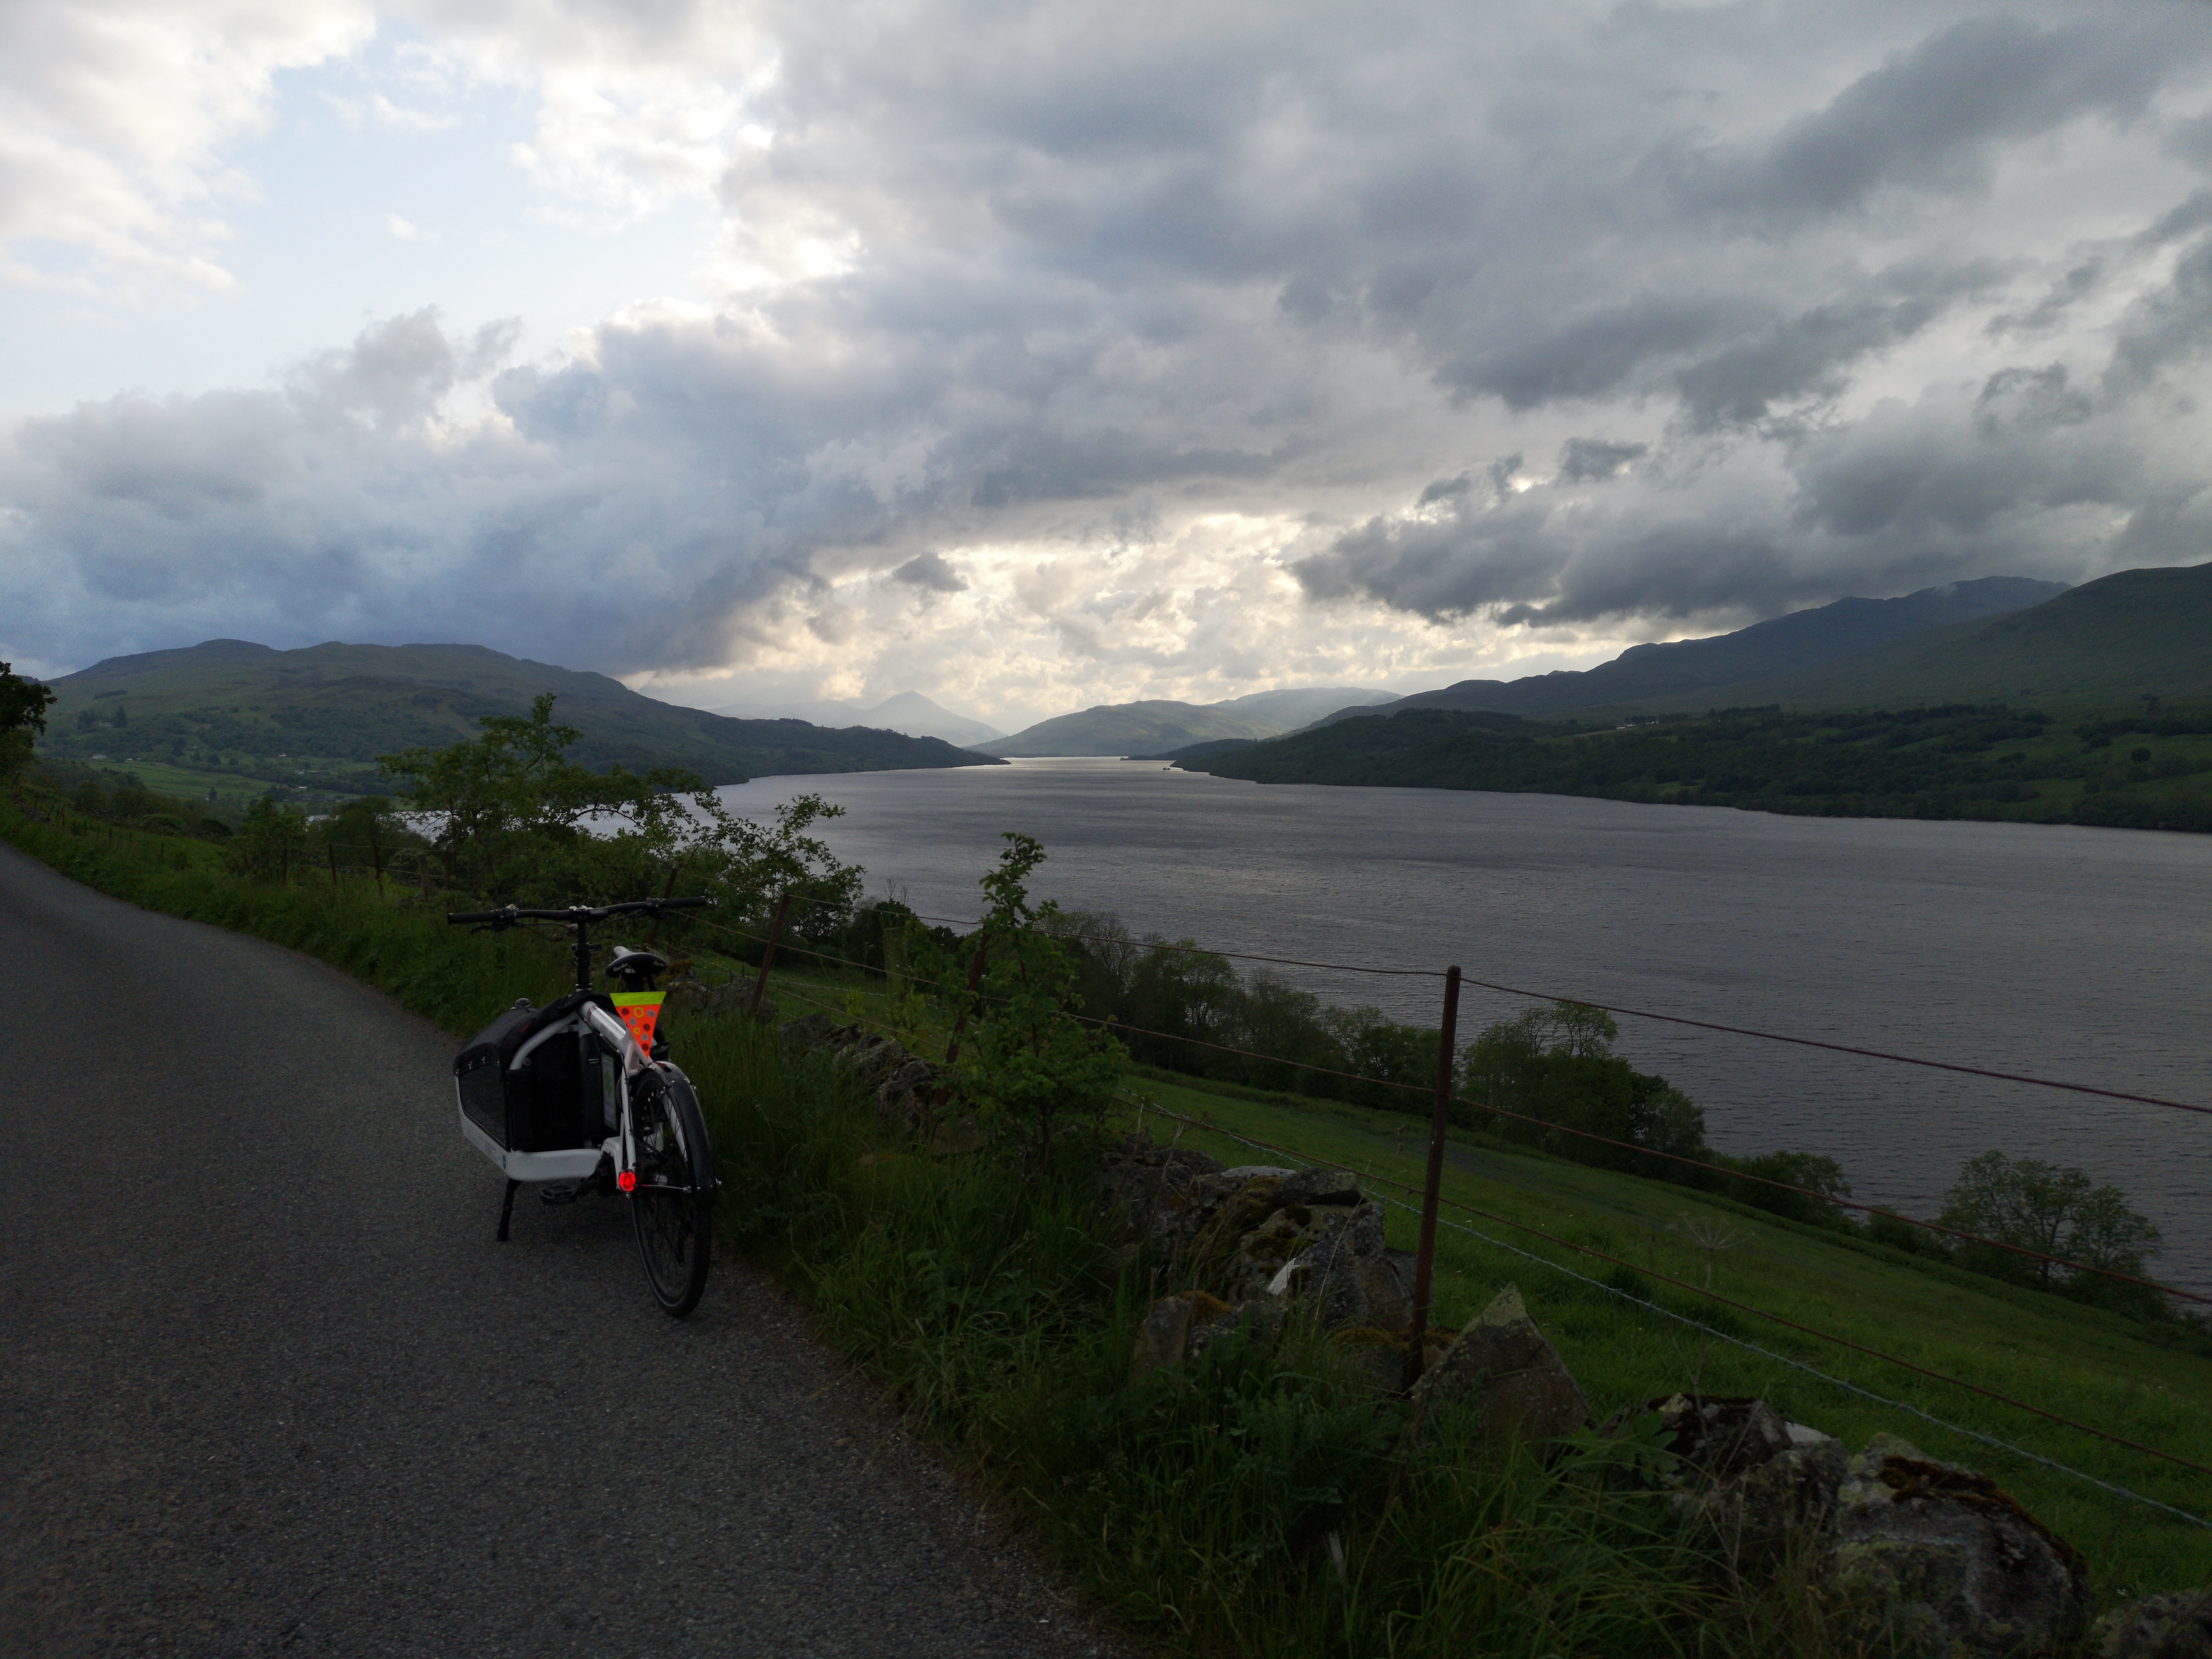
Riding the south bank of Loch Tay on a needlessly undulating road
I guess I should have made this clear earlier, but I am not a long distance cyclist! I am NOT the kind of person who goes off on a 30-50 mile ride on a Saturday morning, I am the kind of person who uses my bike to cruise around the city and occasionally ride down the canal. And yet, in three days I was able to cover 207 miles and almost 12,000ft of climbing. Yes, our eBullitt has a Shimano STEPS e8000 motor, no I didn’t use the motor all the time, but yes I did turn that electric assist on for some of the hill climbing and towards the end of the longer days when my legs were drained. I know there has been a lot of debate in the cycling community about electric assist motors and what that means for cycling, but honestly I can only see them as a good thing. I would never have attempted a route with this amount of climbing if I hadn’t had the safety net of the eBullitt motor. Electric assist motors help more people to get out in the fresh air and enjoy cycling, and they help people like me to explore routes they would previously not have considered, going further and harder than ever before along stunning routes like the Lochs and Glens North.
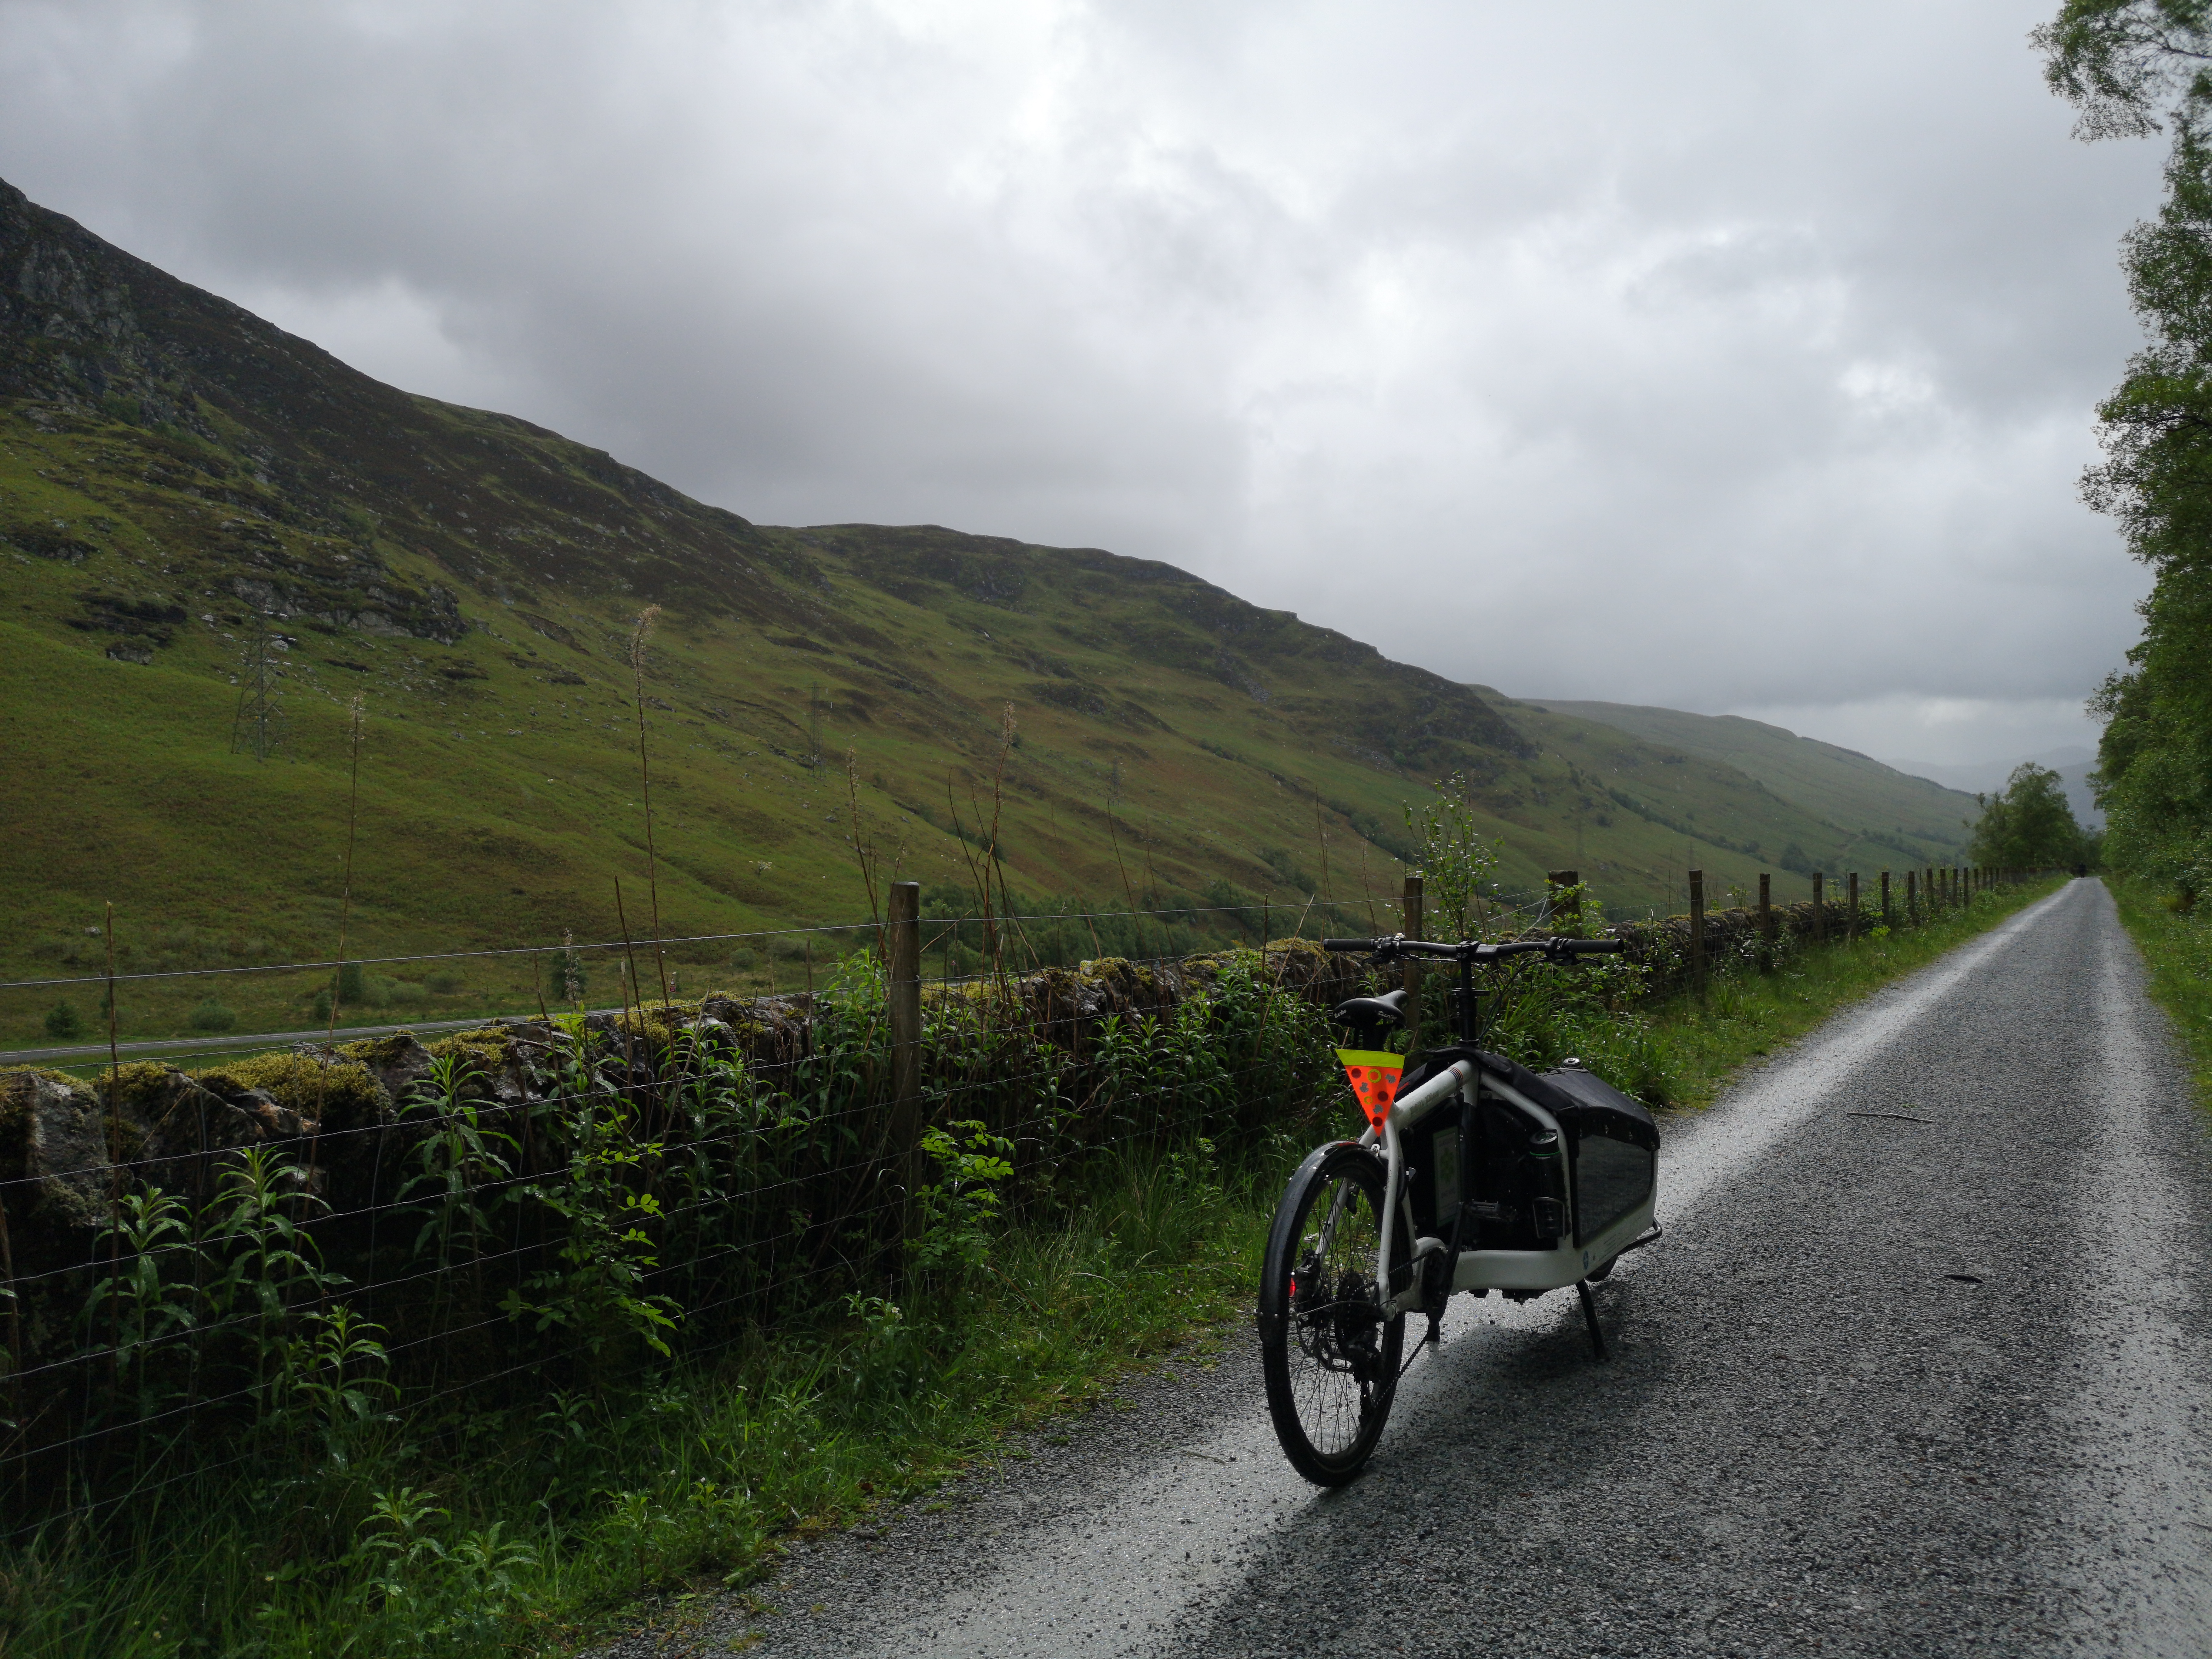
Riding through the Trossachs National Park (in the torrential rain)
The Bullitt performed excellently throughout this entire journey. I made a couple of modifications to it so I could put my own saddle on (LarryVsHarry do not make a female saddle and honestly, the Bullitt saddle is NOT comfortable for women to spend more than a couple of hours on. Get this fixed guys!), the cargo bike was then extremely comfortable to spend several days on, and I had no mechanical issues the entire time. This trip really cemented the idea for me that the eBullitt is the perfect touring bicycle, and I’ll definitely be doing more cargo bike tours in the future.
A final note: this whole trip was part of a sponsored cycle to fundraise for Vision Aid Overseas, an amazing organisation who have been working to improve the eyesight of the world’s poorest populations for over 30 years. If you have any pennies to spare, please consider donating to my VAO fundraiser: https://www.visionaidoverseas.org/fundraisers/fiona-buckmaster
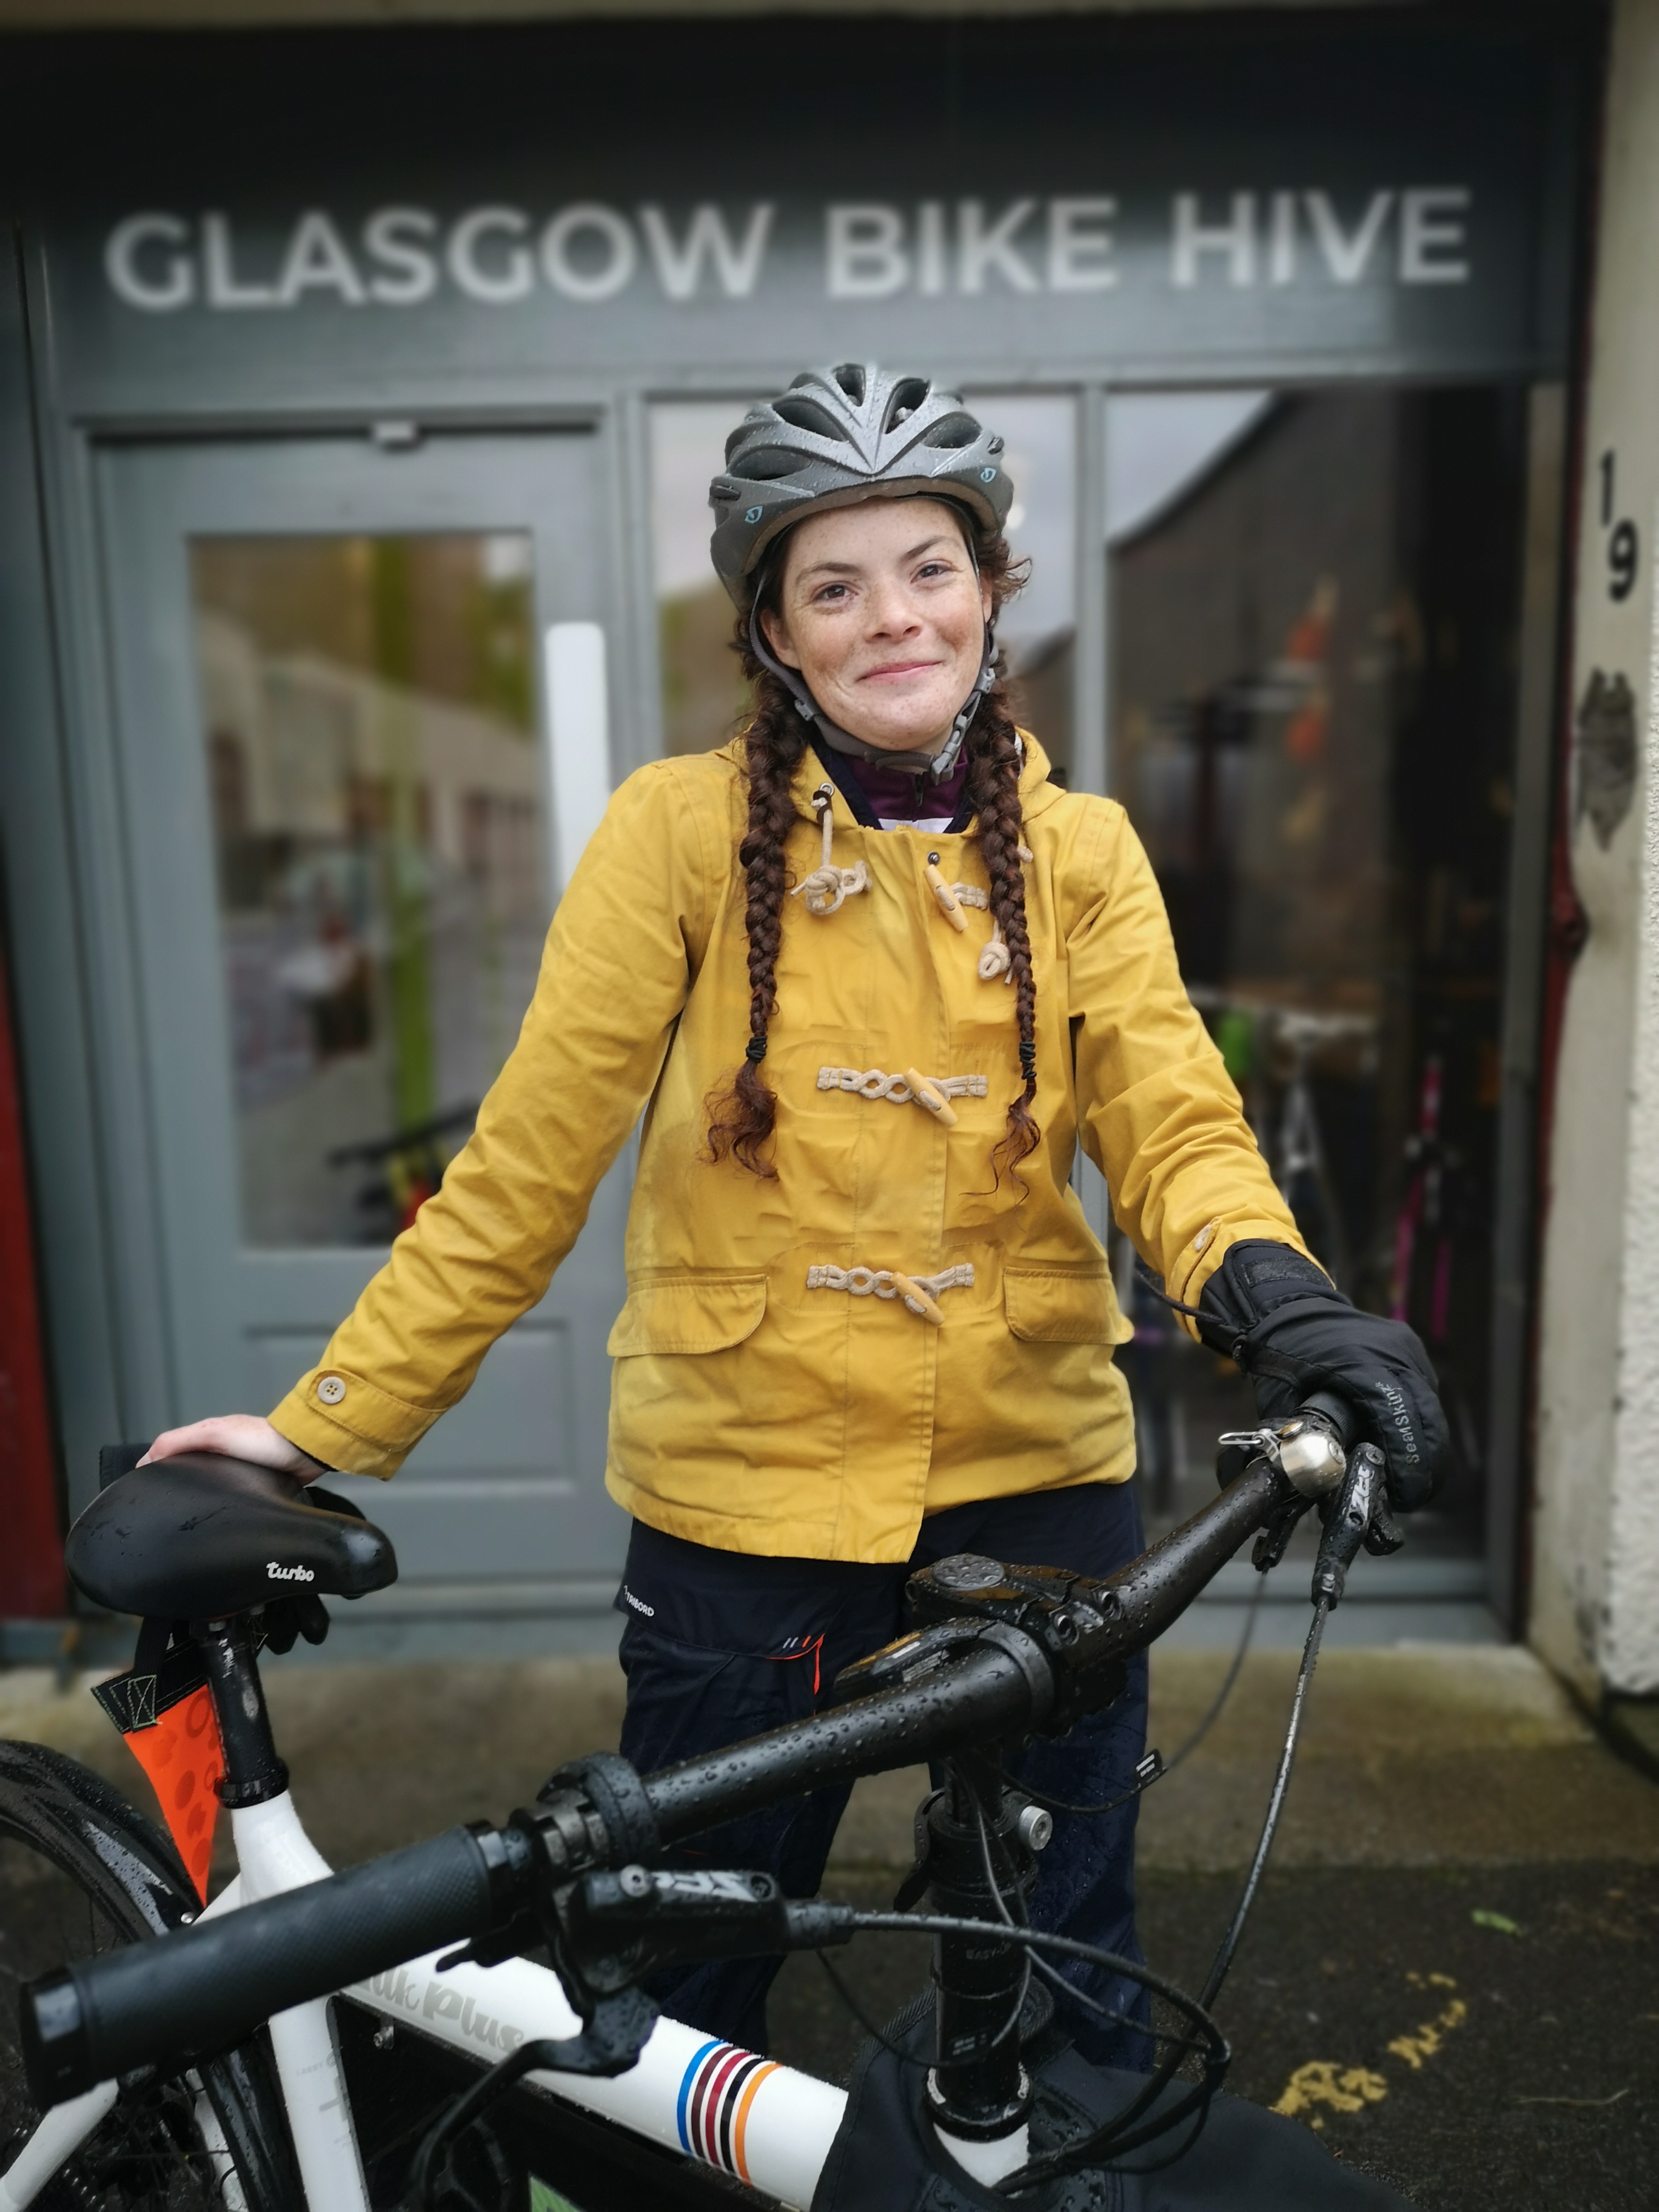
How I looked at the start of a 207 mile cycle with 11,800ft of hill climbing…
…Vs how I looked at the end of a 207 mile cycle with 11,800ft of hill climbing.
We’re going to start this one off with a disclaimer: we know everyone has their own personal preferences that work for their specific needs and commute, so please don’t shout at us in the comments if you prefer something different to what we suggest. Saying that, we know Glasgow and we know bikes, so this is our guide to building the ideal Glasgow commuter bike.
One of the questions we get asked a lot is “what is the best type of bike for commuting?”. Now this can be a really personal question, as depending on the route and distance you commute, your body’s dimensions, and your budget, the type of bike that’s best for your commute is very specific to you. In general, we don’t actually mind what type of bike you choose, but we would recommend you stay away from something with really skinny tyres, as they generally don’t cope well with the rough Glasgow roads (read: potholes!). Make sure that whatever bike you choose, it fits well and you feel comfortable with it, as you’re not going to ride a bike you don’t find comfortable.
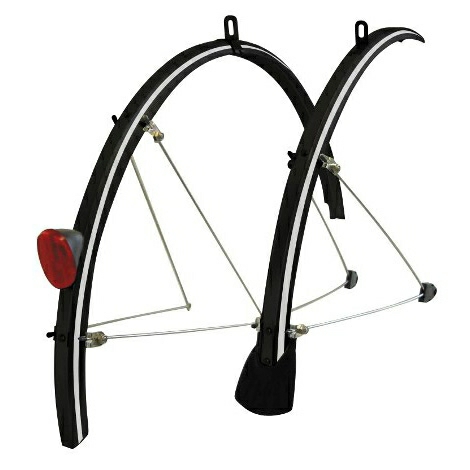
Let’s state the obvious here - it rains a lot in Glasgow. Even when its not actually raining, the road surface is often wet in the city, so good mudguards are absolutely essential to keep your bum dry! We recommend fitting full-length mudguards (either plastic or metal is fine), ideally with flaps, which should fit close to the tyre to reduce spray.
We recommend a simple drivetrain on your chosen bike, as this tends to last longer and is cheaper to maintain. An 8-speed chain and cassette is a good choice for commuting, or a single speed chain with an internal gear hub can also be a sensible option as this is a simple system and so tends to last longer without need for maintenance.
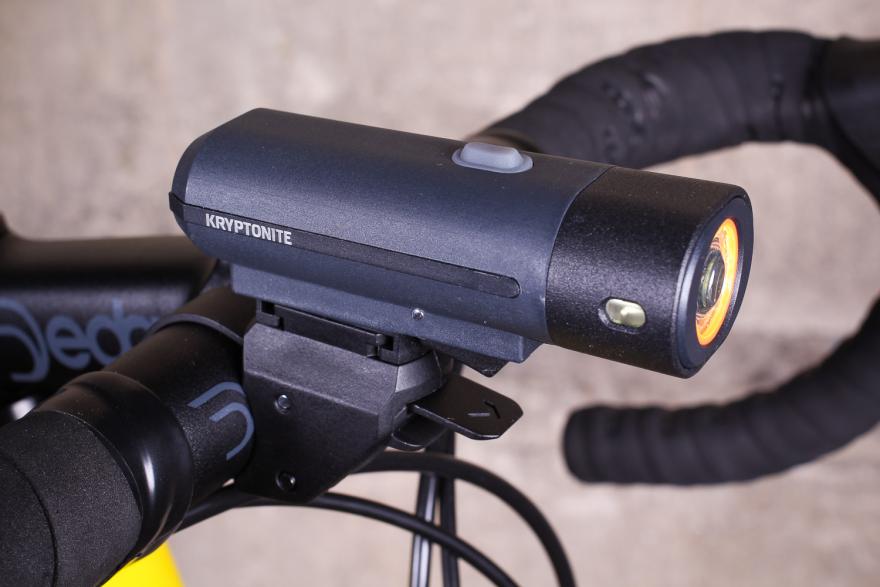
We’re coming out of winter now and leaving the long dark nights behind (for now), but it is still really important that you have good lights on your bike. There is a lot of choice around types of lights, integrated or clip-on, battery operated or USB-chargeable. Whatever you choose, make sure they are bright and visible, and that you always have enough charge in them to get you home. Consider having a secondary light, particularly on the rear, as a back-up. Please do not ever use helmet lights as your only source of illumination when riding! Currently we are loving the Kryptonite F250 light, our Fiona has been using it all winter to commute on country back roads and we can confirm that it is hella bright! We have a range of Kryptonite lighting systems available in stock at Glasgow Bike Hive.
Hopefully you found this guide to building your Glasgow commuter bike useful! If you have anything you’d like to add, or questions you’d like to ask, feel free to do so in the comments (please be civil about it though!). Happy cycling!
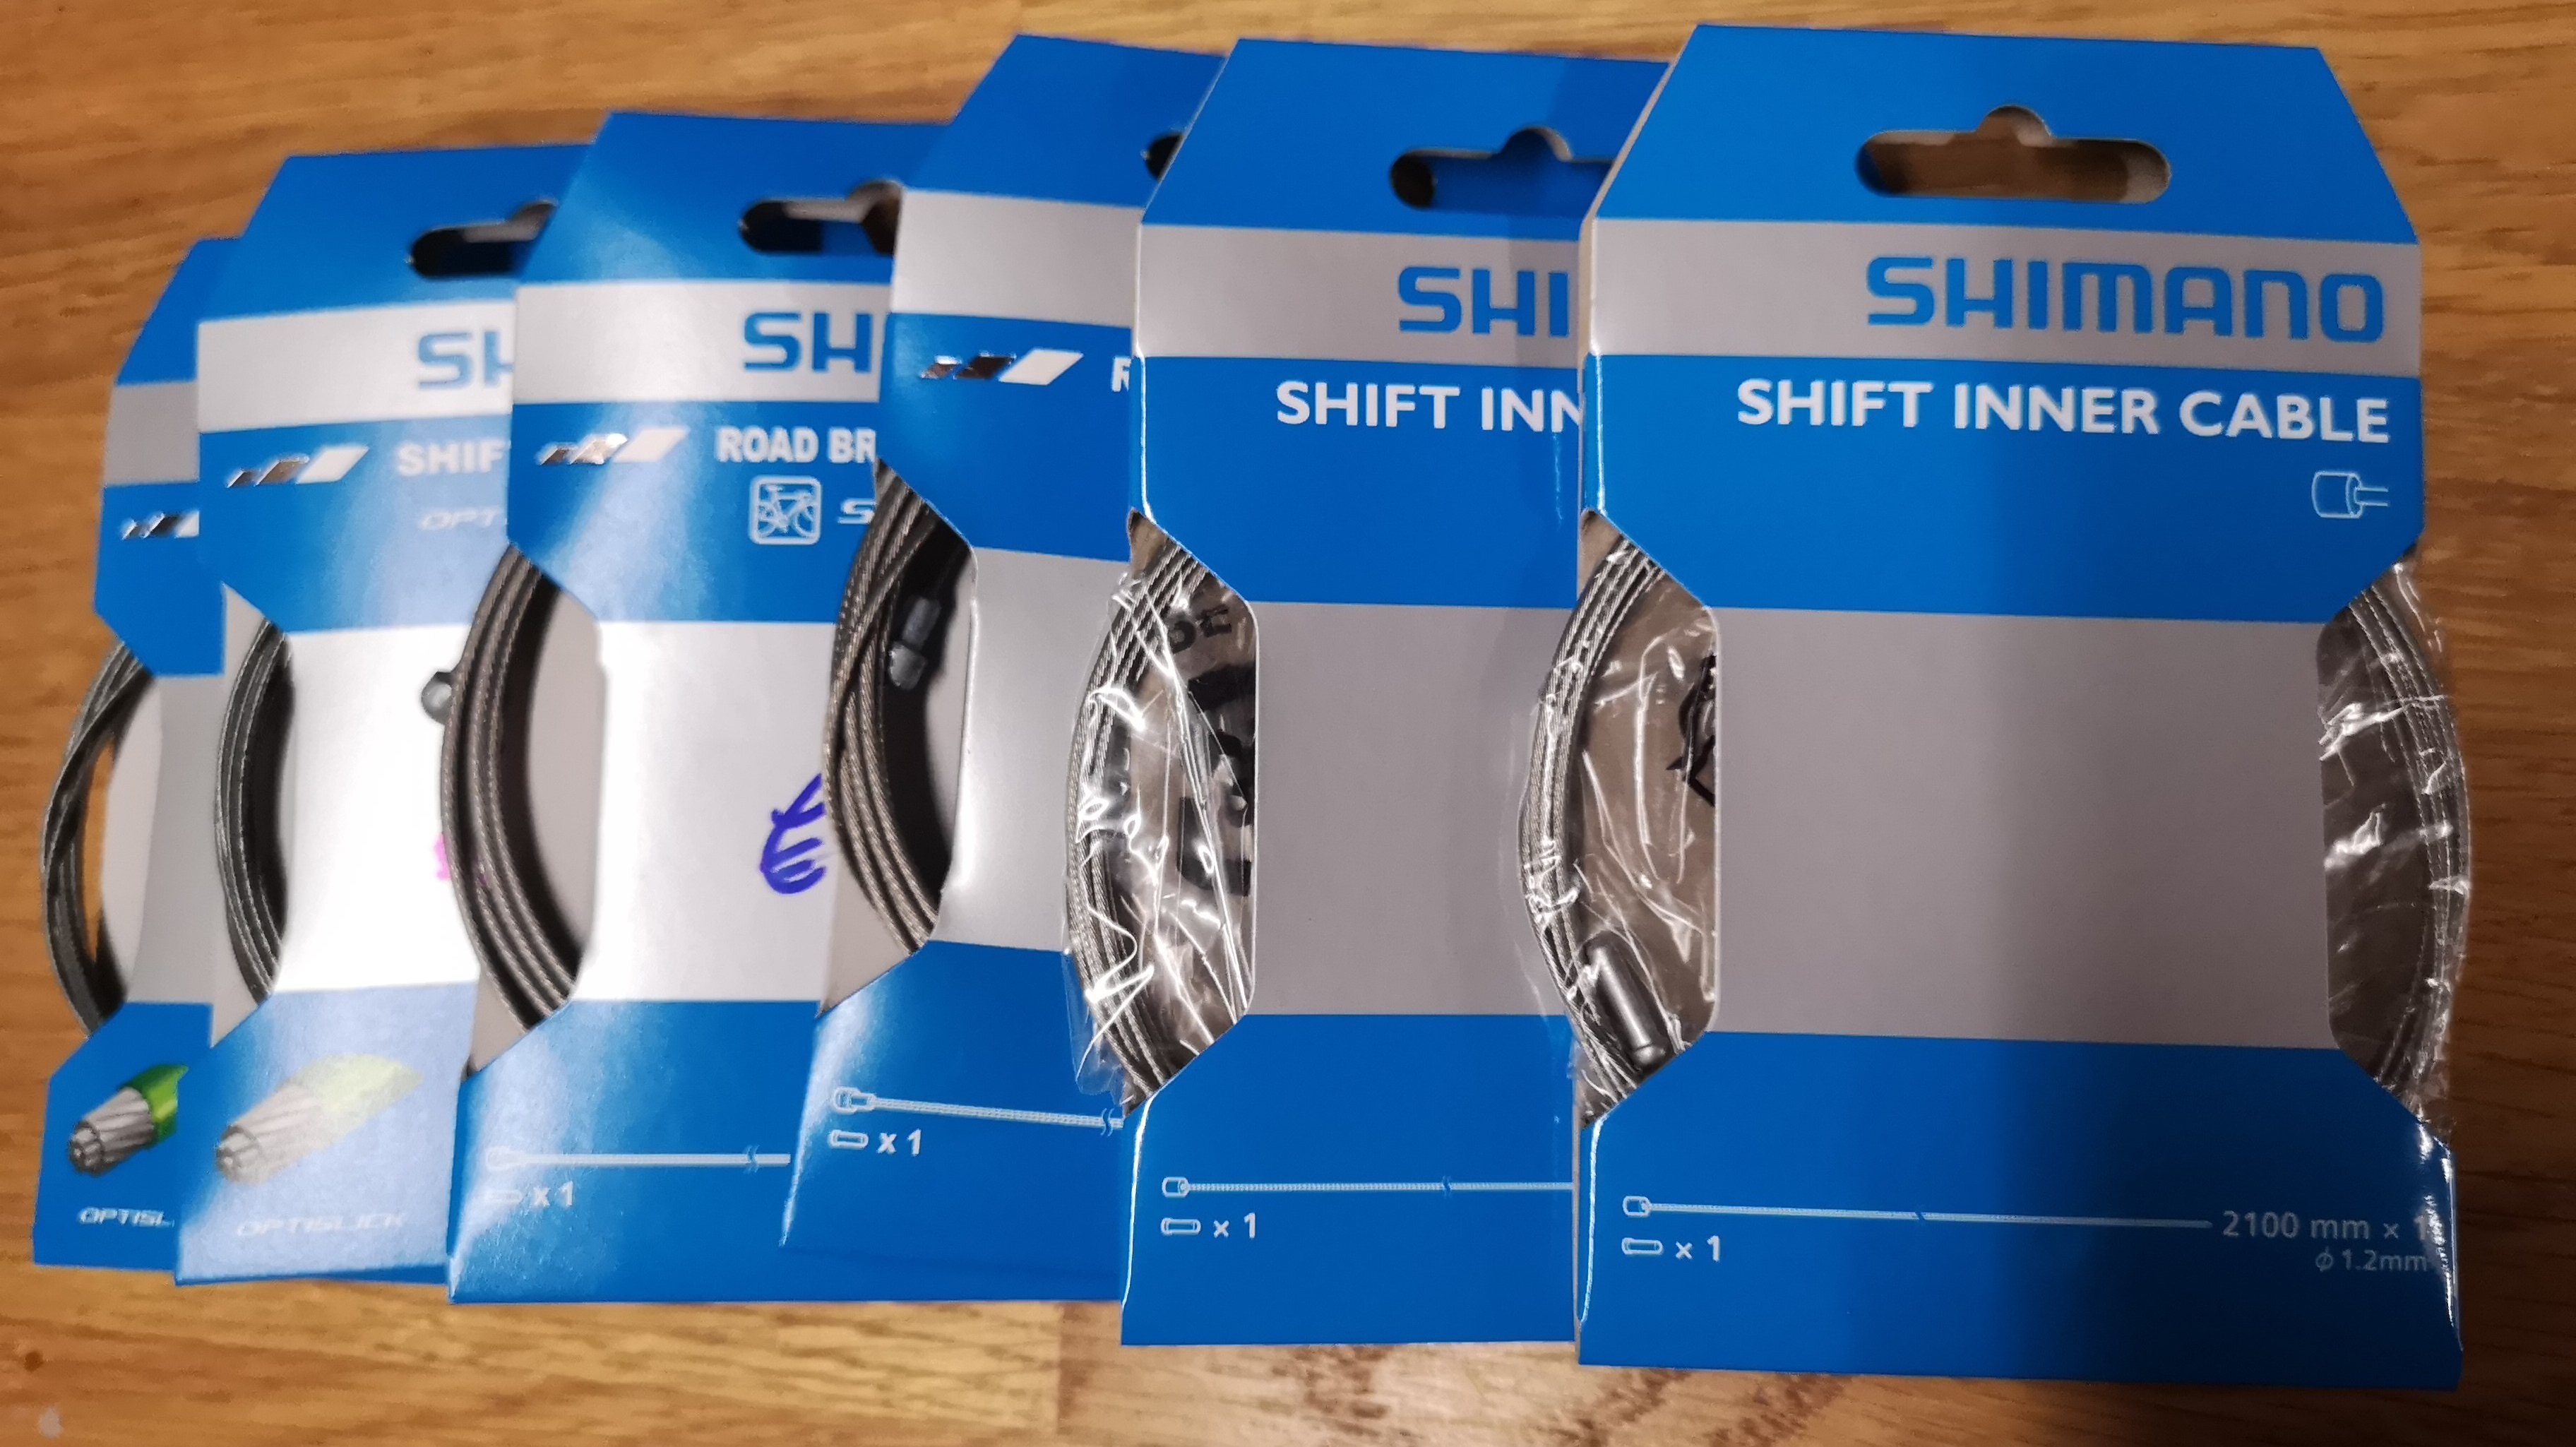
Hello, and welcome to our brand new blog! We hope to share some posts here on a variety of topics about bike mechanics, cycling, and Glasgow too. We’re starting off with a post about cables, which I know does not sound like the most sexy topic to start a blog off with, but bear with us here.
At Glasgow Bike Hive we see a huge range of different bikes come through our workshop, some are super fancy, some are on their last legs, some are somewhere in between. But we believe, no matter what kind of bike you have, you should ALWAYS put good quality cables on it.
Scotland is a pretty wet country. Low quality brake and gear cables tend to be made of coated steel or a low grade stainless steel material (that isn’t all that stainless!) and in our climate these materials can quickly begin to corrode. Once corrosion begins, it increases the friction between the brake lever and the brake caliper (or the gear shifter and the derailleur), which decreases the efficiency of the brakes (or gears). In fact, corroded brake cables can decrease your braking ability by more than half!
This image shows a cheap coated steel inner gear cable which has become heavily corroded.
Low quality cables also need to be replaced more frequently. The increased corrosion on these cables means that they wear out faster, and although low quality cables may be slightly cheaper at the time of purchase, in the long run they may cost you more money as they will need replaced more regularly than a higher quality stainless steel cable.
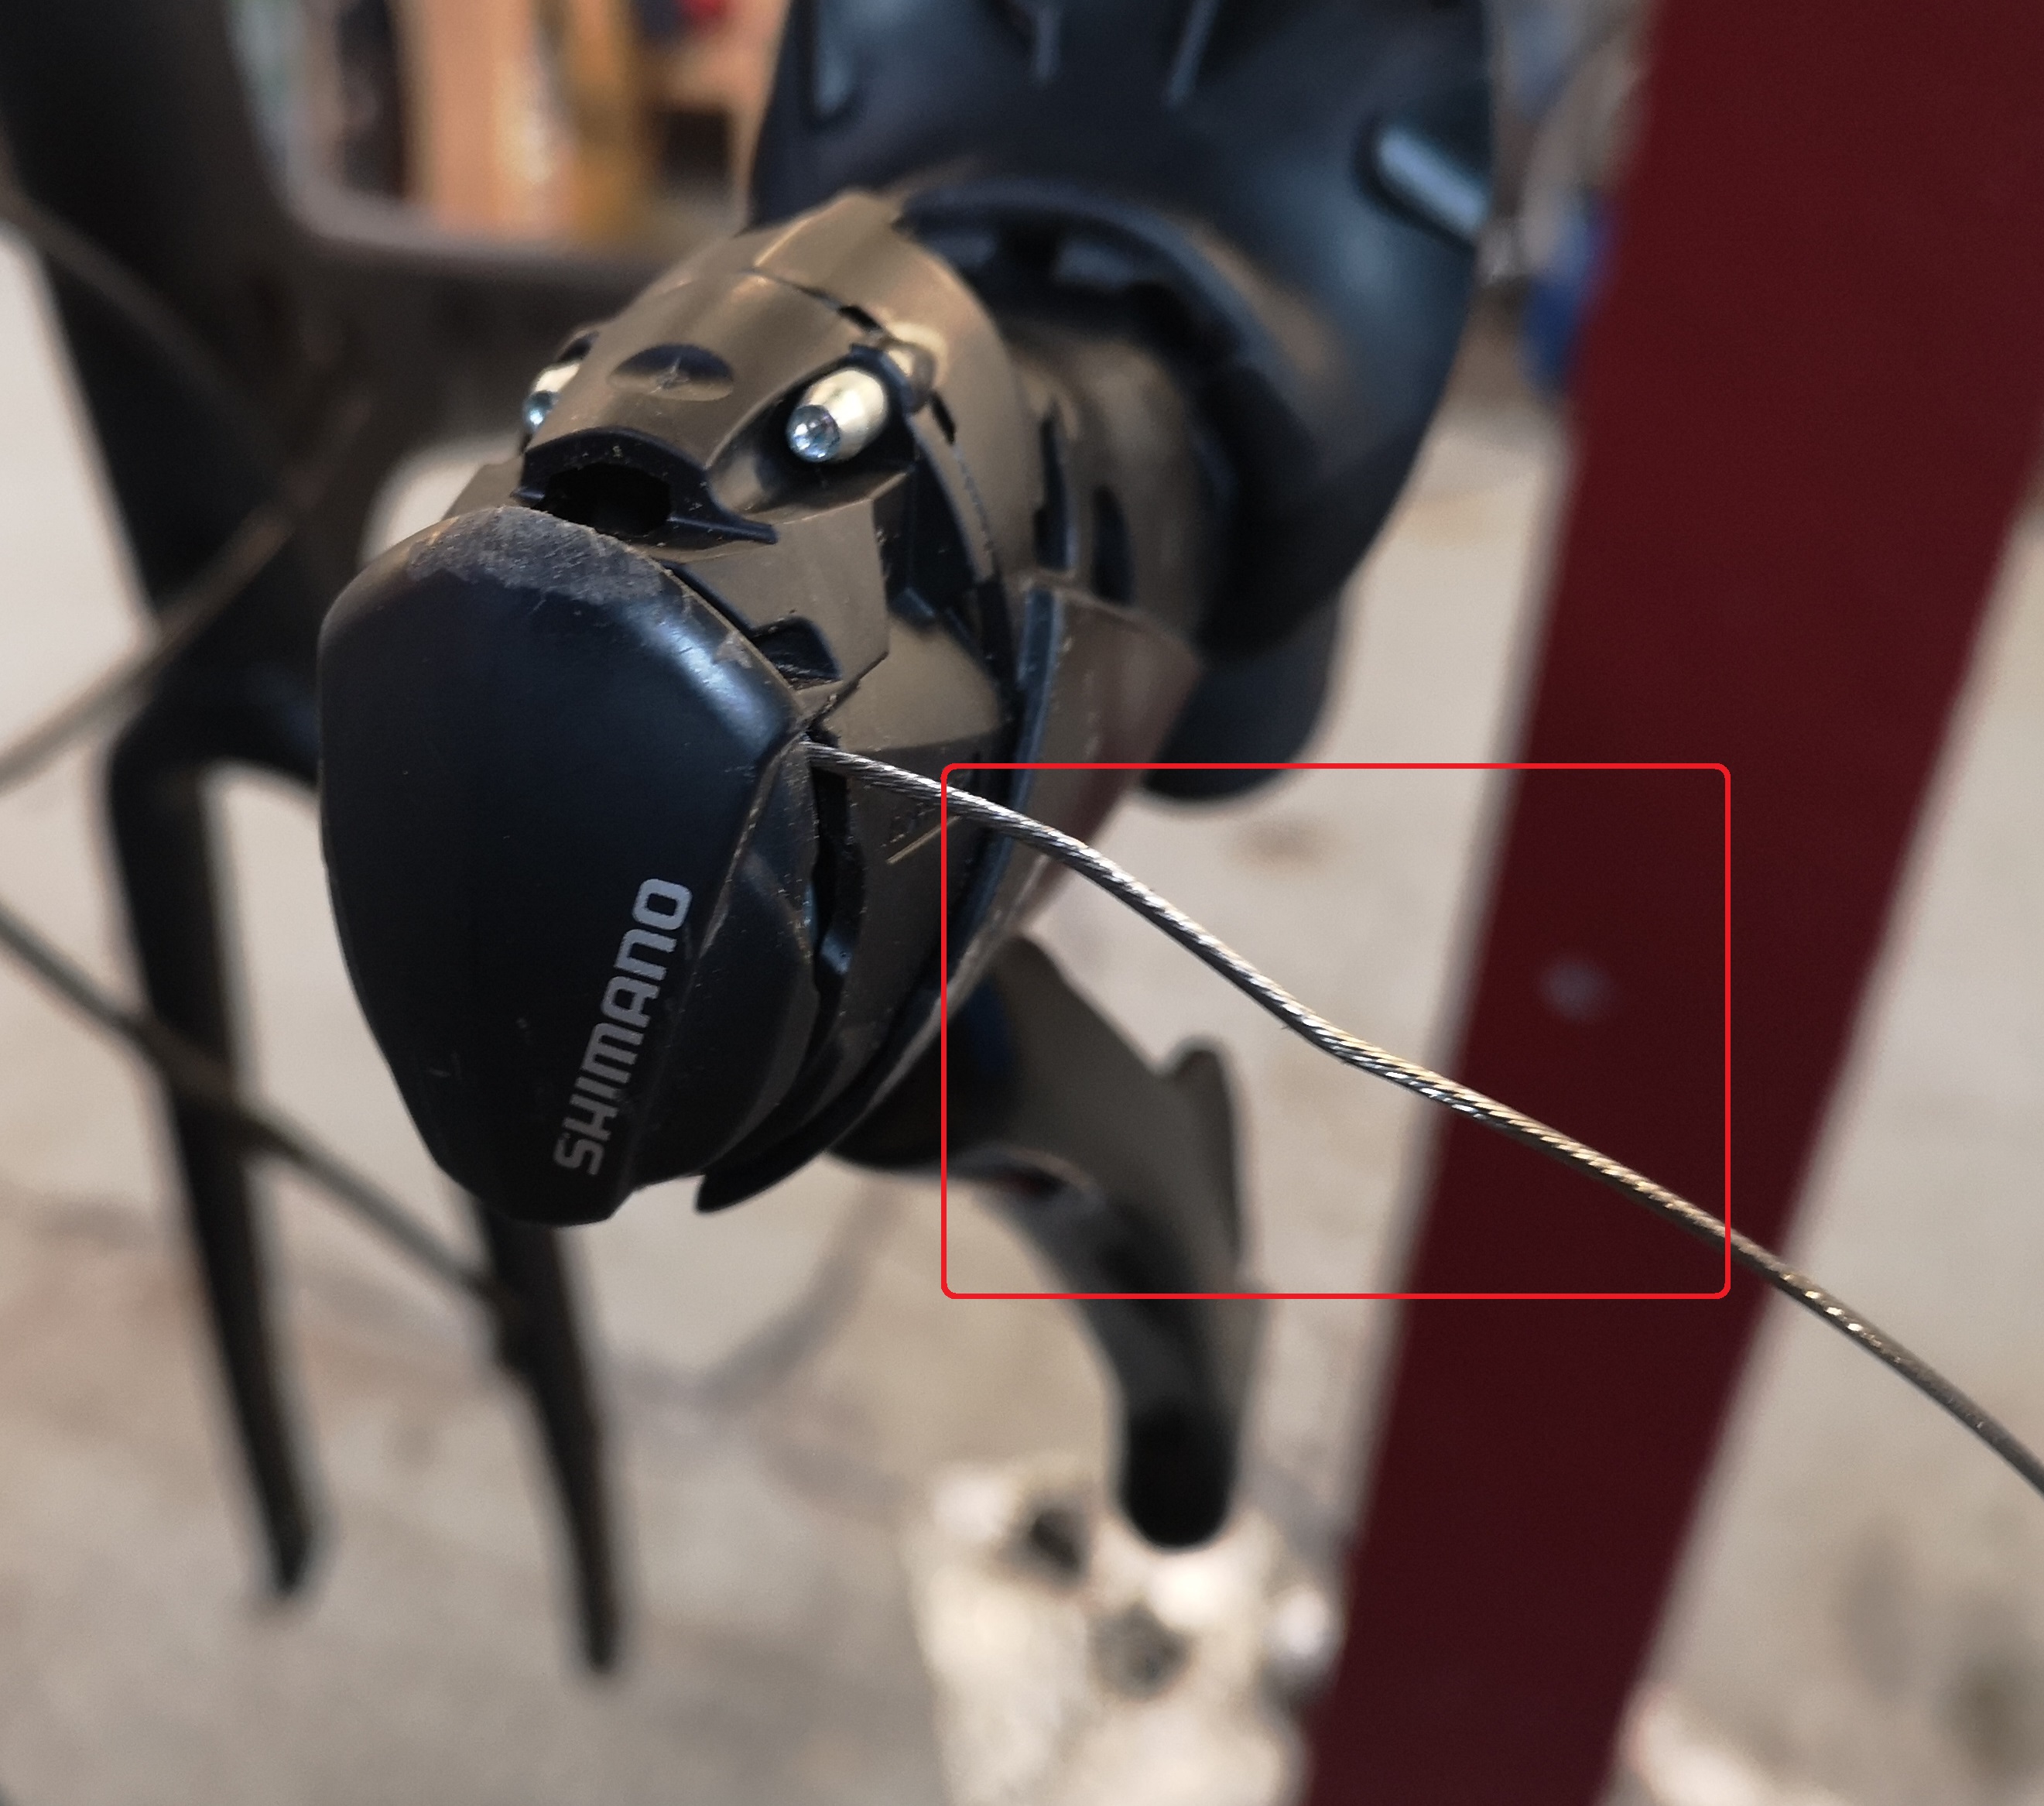
Other than corrosion and typical wear, the most likely cable ailment to negatively affect your bike’s performance is a kink. Kinks can form after crash damage, from a bike falling over, or even from previous incorrectly fitted cables getting trapped between the handlebars and the frame. Often kinks might not be immediately obvious, but you may experience symptoms such as slow shifting (in both directions up AND down the gears), brakes sticking on, or just plain poor performance. You can usually find the troubled cable by spending a few minutes running your fingers up and down the cable housing. If you’re lucky, you might be able to carefully massage the cable back in to the correct shape, if not, simply replacing the damaged cable will sort the problem.
This image shows an example of a kink in a gear cable.
A lot of brand new bikes, even really high-end bikes that come with a good quality groupset and superior tyres, will often come with low quality cables on them. At Glasgow Bike Hive, we always use high quality cables on all our bikes and services, to get your bike working the best it can!